It’s time to configure and customize the Template for your Invoices and Delivery Notes.
After installing and activating the plugin, you will go to WooCommerce > Settings > Print as shown below:

Here you will find the following 3 sections:
1. Template
2. Pages & Buttons
3. Invoice
Browse below each section.
1. Template
Under this section, you will find the following settings:
a. Style
This will decide the style of your template.
In the dropdown, you will find the Default Template that is offered by our plugin as shown below:

However, if you wish to customize it, you can consider the `wcdn_head` hook to enqueue your own stylesheet.
For full control, copy the file `style.css` from `woocommerce-delivery-notes/templates/print-order` to `yourtheme/woocommerce/print-order` and start editing it.
Note: Create the `woocommerce` and `print-order` folders if they do not exist. This way your changes won’t be overridden by plugin updates.
b. Shop Logo
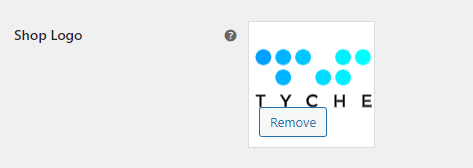
Insert your Shop Logo which will get added to the invoice and delivery note.
If you wish to update your logo, you can easily remove the previous one and add the new one.
c. Shop Name
In order to identify that the invoice belongs to your company, you can enter your Shop Name in this section.

Please note that the name of the shop will not be present in the invoice or delivery note if a Shop Logo has already been added.
d. Shop Address
Similarly, here, you can enter the postal Address of your shop.

e. Complimentary Close
In this section, you can enter a closing statement to your Invoice. For instance, you can thank the customer for their order as shown below:

You can even give them season’s greetings or any other notes. Some other examples:
- Your business means the world to us, and we’re here to make sure your deliveries are hassle-free.
- Merry Christmas! Thanks for shopping with us and celebrating the holiday spirit!
- Your trust keeps us rolling. Looking forward to delivering more smiles your way. Cheers!
- We value your business and are committed to providing you with the highest quality products and services. Thank you for entrusting us with your delivery needs.
f. Policies
Here you will enter your company’s policy.

g. Footer
You may add a footer imprint, any instructions, copyright notes, email addresses, or even contact details.

2. Pages & Buttons
Under this section, you will find the following settings:

a. Print Page Endpoint
This unique endpoint is added to the accounts page URL to print the order.
b. Admin
In this section, you will find a few Admin-related settings for which you can simply tick the checkbox if you wish to make them work.
You will find these print buttons available on the Order listing and on the Order detail screen.
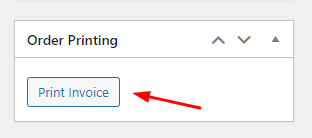
1. Show “Print Invoice” button

Once this checkbox is ticked, you will see the Print Invoice button on the Order Detail Screen in this way:
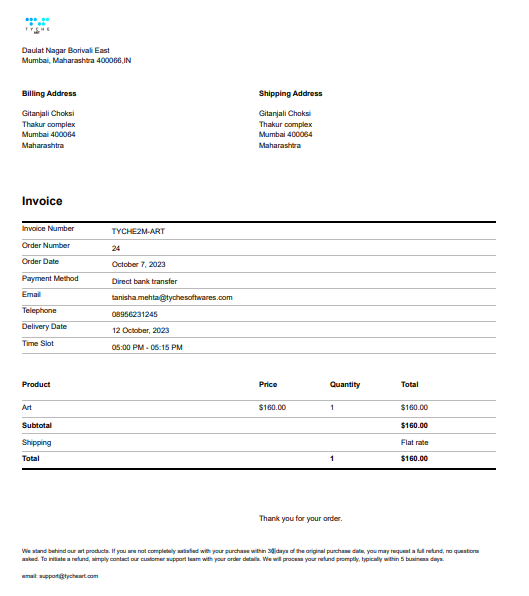
When you click on it, the Invoice will look like this:
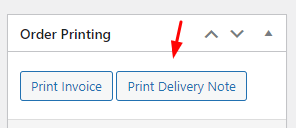
2. Show “Print Delivery Note” button

When this checkbox is ticked, you will see the Print Delivery Note button on the Order Detail Screen in this way:
When you click on it, the Print Delivery Note will look like this:

3. Show “Print Receipt” button
In order to see the Print Receipt button, this checkbox should be ticked:

Once clicked, the following button will appear on the Edit Order Page:
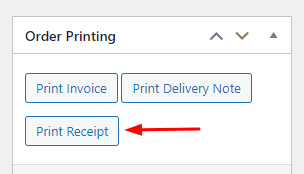
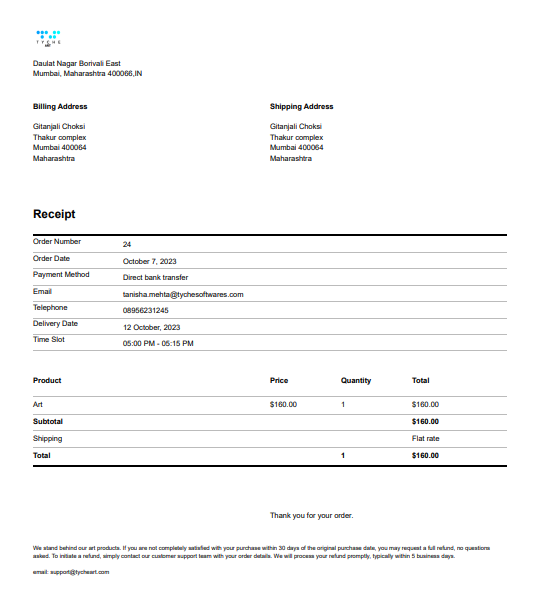
When you click on it, the Receipt will look like this:
c. Email
This includes the emails for a new, processing, and completed order. On top of that, the customer and admin invoice emails will also include the link.

1. Show print link in customer emails
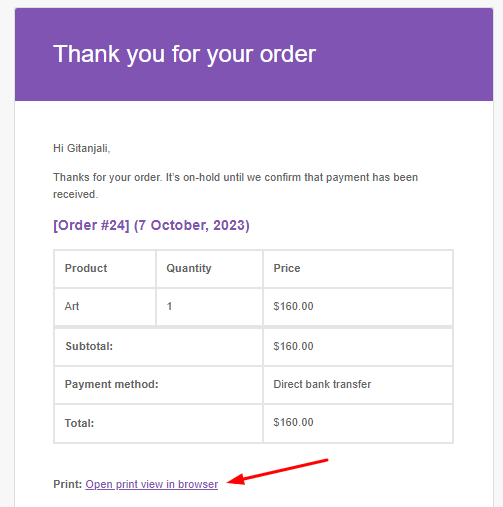
Ticking the checkbox will insert a print link in the emails that customers will receive after they have placed an order.
2. Show print link in Admin emails
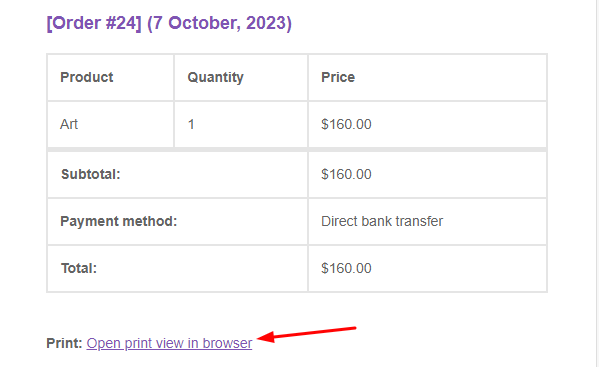
Similarly, ticking this checkbox will insert a print link in the emails that Admins will receive once a customer has placed an order.
d. My Account

1. Show print button on the “View Order” page
Clicking the checkbox of this setting lets you display the print button on the View Order Page as shown below:
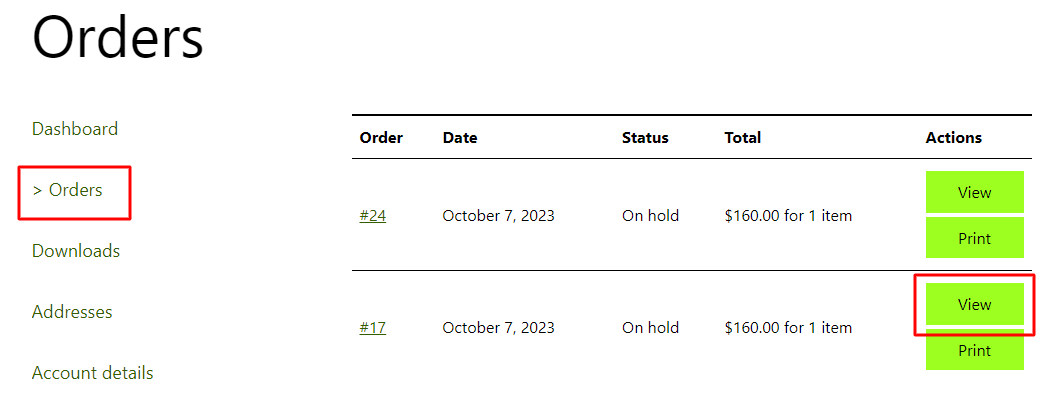
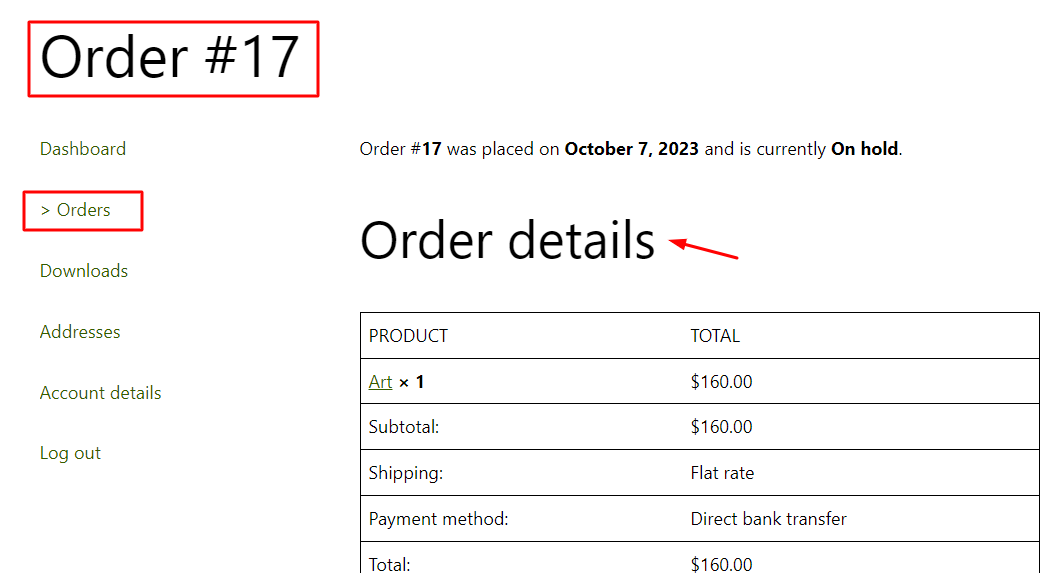
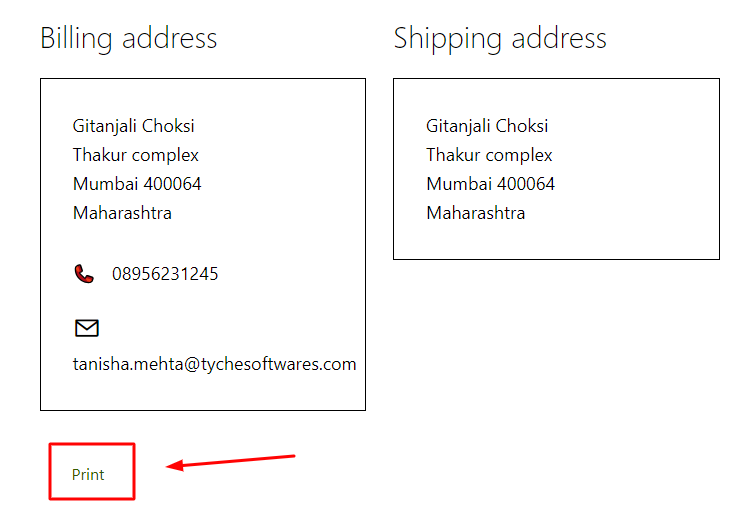
2. Show print buttons on the “My Account” page
Clicking the checkbox of this setting lets you display the print button on the My Account Page as shown below:
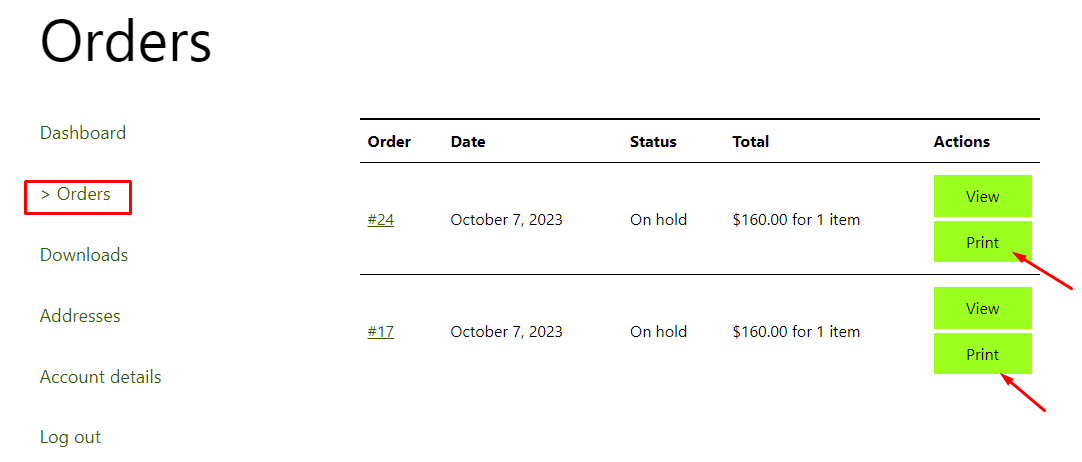
e. Text Direction

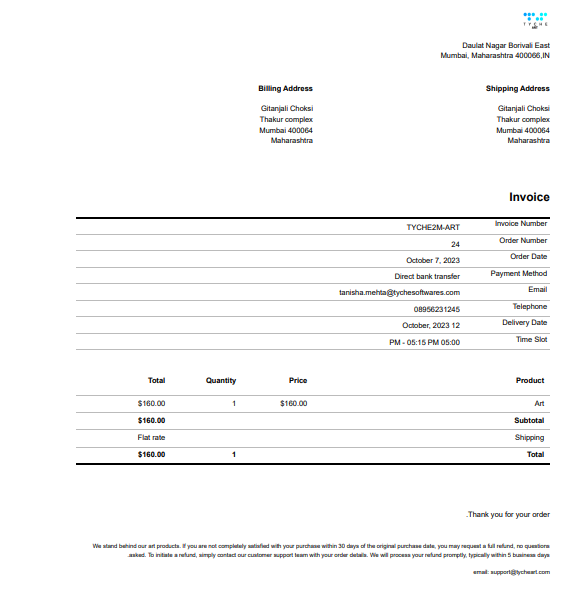
Ticking the checkbox for this setting allows you to print your Invoice, Print Receipt, and Delivery note text from the right to left direction.
This is especially useful for businesses using languages such as Hebrew, Arabic, etc.
For instance, this is how the Invoice will look like:
3. Invoice
Under this section, you will find the following settings:

a. Numbering
Ticking the checkbox will allow you to create invoice numbers.
If this checkbox is not ticked, your invoice will not have any designated number.
b. Next Number
This will let you decide the invoice number of your next order.
c. Number Prefix
This setting lets you add a prefix to your invoice number. This means that the decided characters will be added before the invoice number.
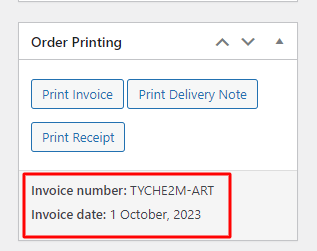
For instance, you can go with TYCHE as your prefix.
d. Number Suffix
This setting lets you add a suffix to your invoice number. This means that the decided characters will be added after the invoice number.
You can go with M-ART as your suffix where M stands for Modern, helping you categorize that the invoice has a modern art product in it.
Looking at all the settings together, let’s say that your next number is 2, along with the number prefix and suffix added, it will be displayed as shown below in the Order Printing Section of the Edit WooCommerce Order Page.
All of these details will be displayed in the Invoice, Delivery Note, and Receipt. One example of the same is shown below:

e. Reset usage tracking
If you press the Reset button, the opt-in banner will be displayed to you allowing you to not share any of your plugin-related data with our company.

You can read more about our usage tracking policy here.
There you have it, customizing your templates for your Invoices, Delivery Notes and Receipts in these simple steps!