This post discusses on how to synchronize deliveries dates & times with the Google Calendar with the Order Delivery Date Pro for WooCommerce plugin.
This feature was released on February 1, 2016, in the plugin’s update, v4.0.
It allows admin to synchronize the delivery dates & times from the Order Delivery Date Pro for WooCommerce plugin to your Google Calendar and vice versa using ICAL feed URLs.
It also allows customers to add the delivery dates & times in their Google Calendar or download the .ics files for adding it to any other calendar.
Setting up
We have added a new tab to our plugin called “Google Calendar Sync” under Order Delivery Date menu in admin. You can configure the new feature there.
Step 1: Default view of Google Calendar tab
This is how the Google Calendar Sync tab looks by default when no settings have been created.
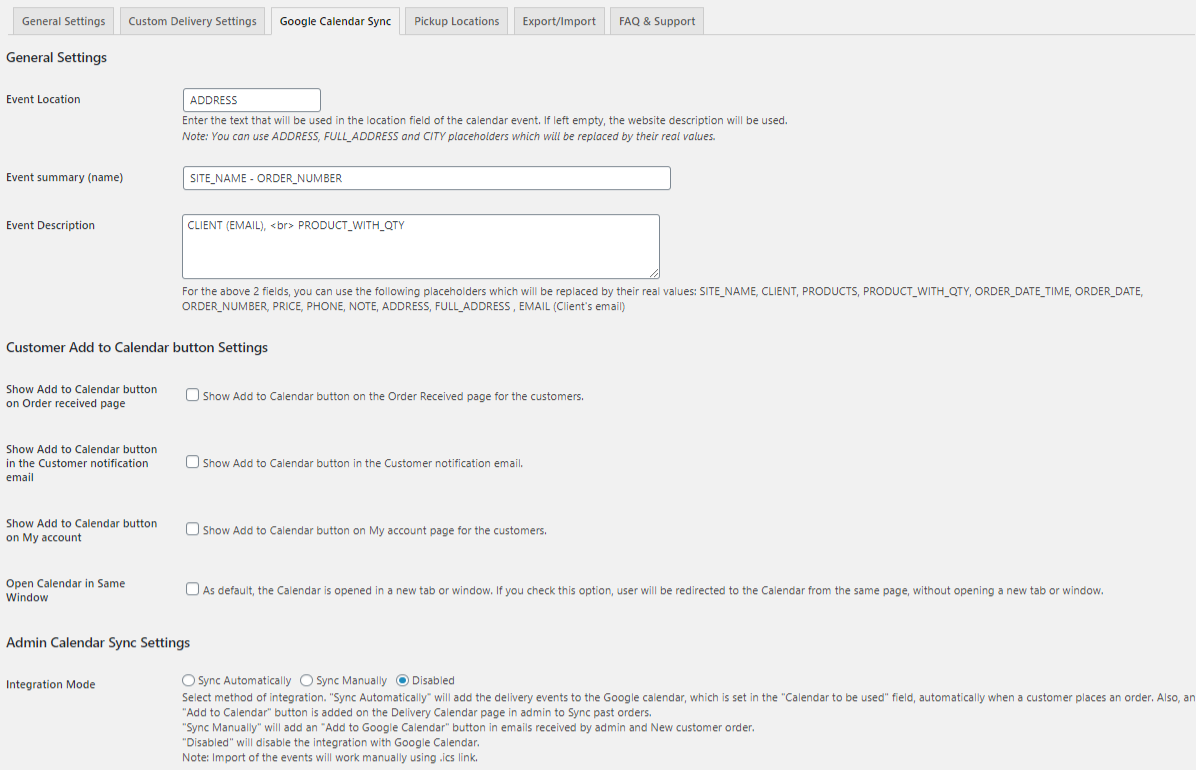
Step 2: Allow customers to add the delivery dates & times to their Google Calendar.
Allow customers to add the delivery dates & times to their Google Calendar or any other calendar by providing the buttons on Order Received page, Customer notification email, and My account page.
Enable the checkboxes for the respective pages under the Customer Add to Calendar button Settings section in Order Delivery Date -> Google Calendar Sync tab for enabling the buttons on the pages.

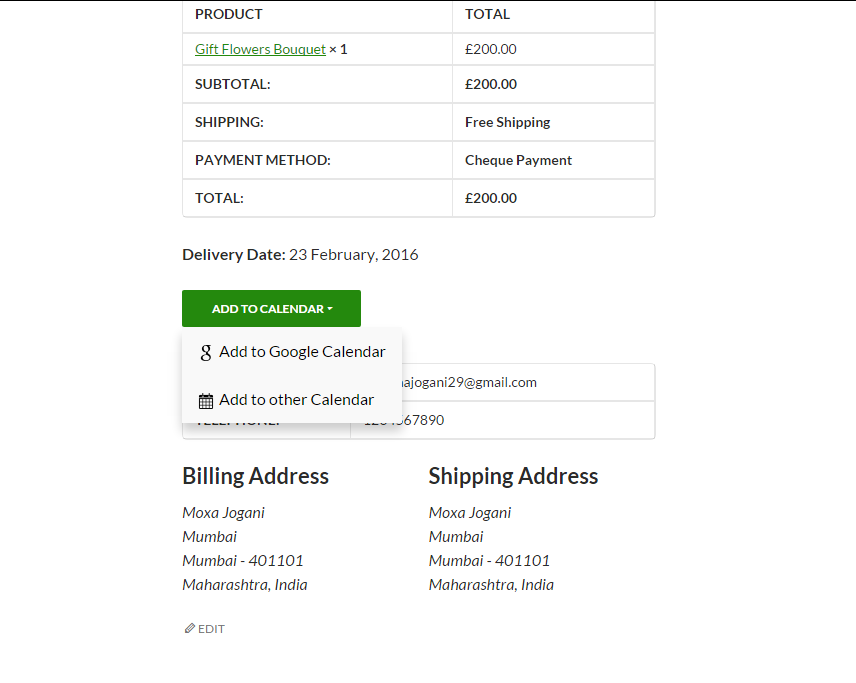
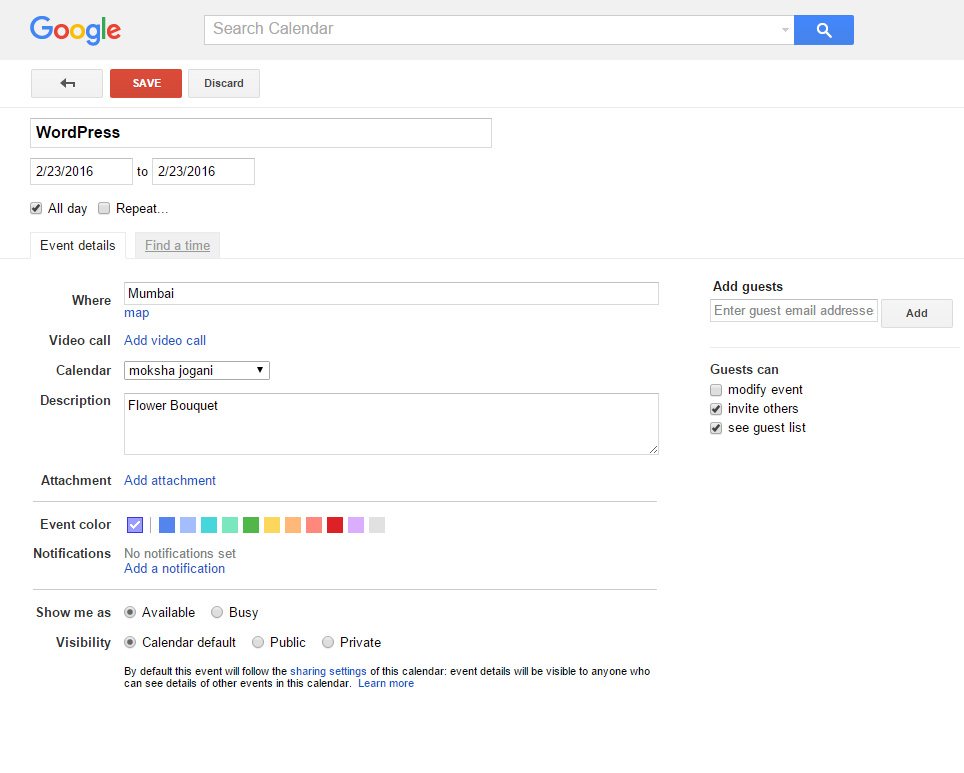
Step 3: Export the Deliveries to the Google Calendar for Admin
The delivery dates & times can be exported automatically or manually to the admin’s google calendar. Below are the steps which explain how the export options work:
Sync Automatically:
-
-
- Select the “Sync Automatically” Integration Mode.
- Setup the Google calendar sync with the help of the instructions provided in the Admin Calendar Sync Settings section.
- Test the Connection using the Test connection link.
- Add the Event Location, Event Summary, and Event Description. There are various shortcodes provided to add the dynamic values like CLIENT, PRODUCTS etc which will be replaced with the real values.
- The events will be exported automatically to the Google calendar for which Calendar ID is added without notifying the admin, once the customer places an order.
-
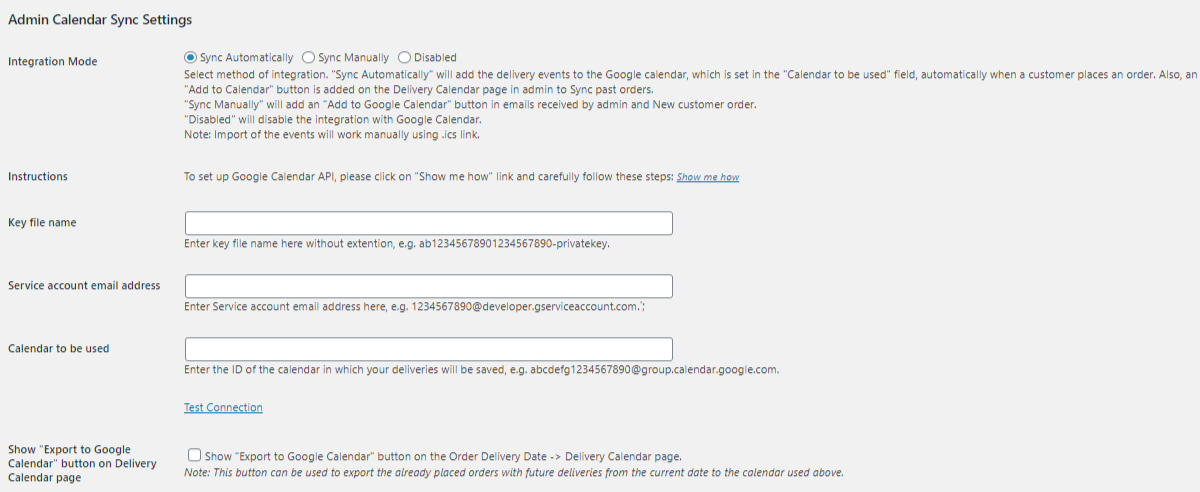
- Show “Export to Google Calendar” button on Delivery Calendar page: When this setting will be enabled, “Export to Google Calendar” and “Re-export to Google Calendar” buttons will appear at the end of the View Delivery Calendar Page.
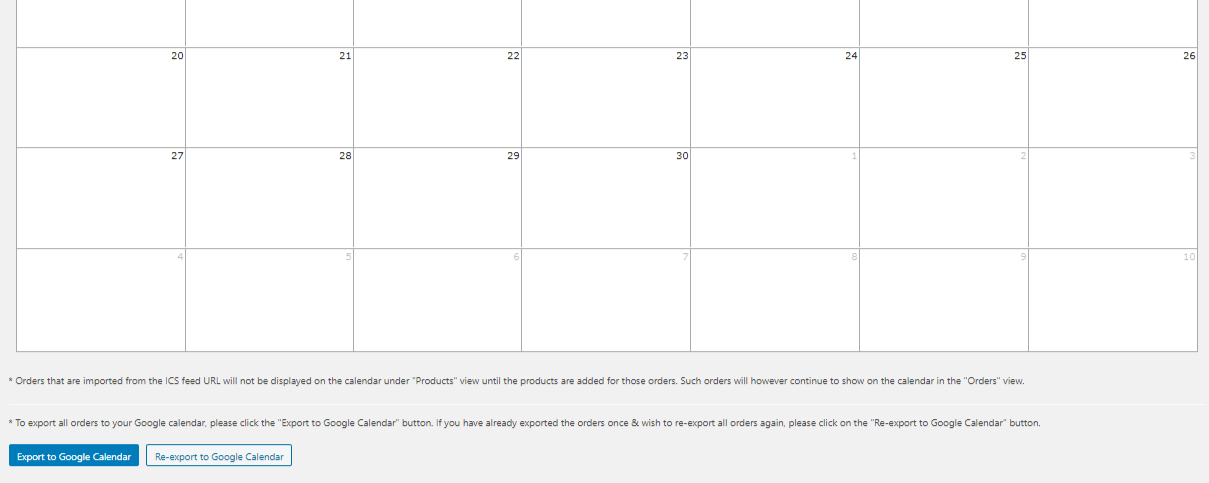
1. Export Google Calendar: This button is used to export all orders to your Google calendar.
2. Re-export to Google Calendar: Clicking on the “Re-export to Google Calendar” button on the Delivery Calendar page will re-export all previously exported orders with their delivery dates.
Sync Manually:
- Select the “Sync Manually” Integration Mode.
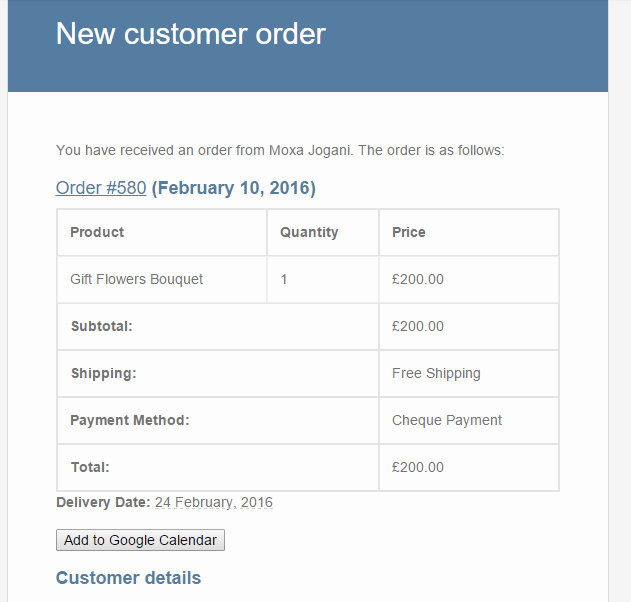
- Enable the checkboxes “Show Add to Calendar button in New Order email notification” and “Show Add to Calendar button on Delivery Calendar page” for adding the Add to Calendar button on the respective pages.
- Admin can sync the delivery dates & times by clicking on the Add to Calendar button from the email received on New customer email notification.

Step 4: Import the Events from the Google Calendar or any other calendar using ICAL Feed URLs.
The Calendar Events can be imported using the ICAL Feed URLs of the google calendar or any other calendar. Below are the steps which explain how the import work:
- Add the ICAL Feed URL in the textbox and the Save the URL using the instructions provided in this section to get the ICAL Feed URL.
- Import the events by click on Import Events button next to the text box.
- After Importing the events, new orders will be created for guest users in the WooCommerce -> Orders page. The event date and/or time will be considered as the Delivery Date and/or Time for the orders.
- The availability of the date and time will be updated after importing the events.
- Admin needs to add the products manually in the order once all the events are imported.

Conclusion
This is a basic instruction guideline on how the new feature works. All the required information for the setup are also mentioned in the Google Calendar Sync tab in the plugin’s admin dashboard.
If you have already purchased the Order Delivery Date Pro for WooCommerce plugin, go ahead and update to the latest version for setting up the synchronization of your order deliveries with your Google Calendar.