This is the 2nd post in a series describing how to turn your WooCommerce store into a booking platform. In Part 1, we saw how a WooCommerce bookable product is created in the backend using the WooCommerce Booking & Appointment Plugin. In this part, we will see the user experience on the frontend for the same product. The product is a date & time based booking with WooCommerce.
We created the bookable product “Schedule a Conference Call” in Part 1 that allows people to schedule a conference call with me any time between 8 AM to 11 AM from Monday to Friday.
Step 1: WooCommerce Bookable Product default view on Frontend
When that bookable product loads on the website, this is how it appears:
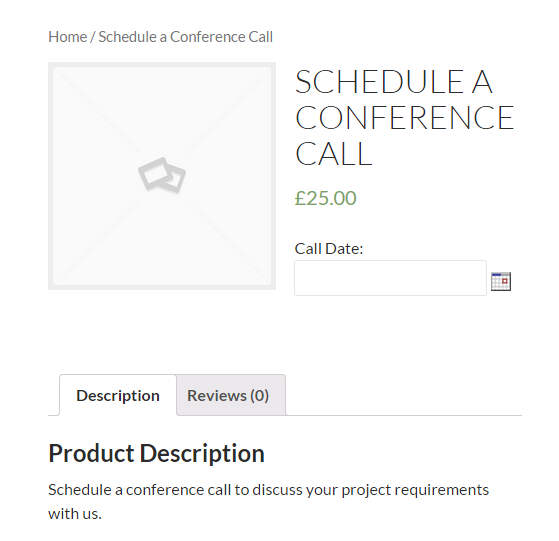
You can see the field labelled “Call Date”. That’s the one that appears from the WooCommerce Booking & Appointment Plugin.
By default, the date field’s label is set to Booking Date. But thanks to the flexibility offered in the plugin, the label can be altered from the Booking -> Settings -> Booking Labels page. I changed it to “Call Date”.
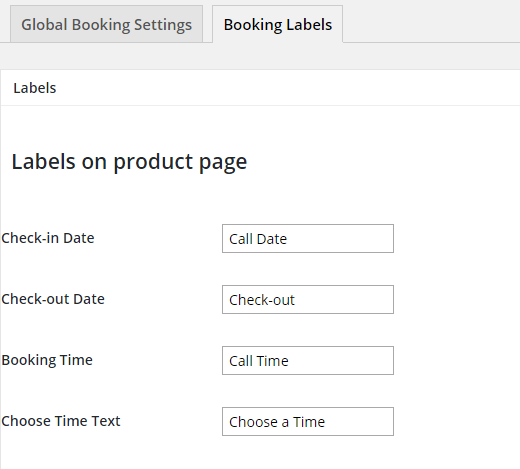
The labels within the email notifications as well as on the Cart & Checkout page for the booking fields can be changed from the same page from separate sections available below the “Labels on Product Page” section. We don’t have a Check-out date field in this case, so you can leave it as it is or you can set it to blank.
Step 2: WooCommerce Bookable Product Calendar on Frontend
Once you click on the calendar icon or focus inside the date field, the calendar shows up. In our case, you will notice that all Saturdays & Sundays are disabled for selection. Because I schedule a conference call only between Monday to Friday. Accordingly I have selected Monday to Friday to be available to schedule my conference calls in admin.
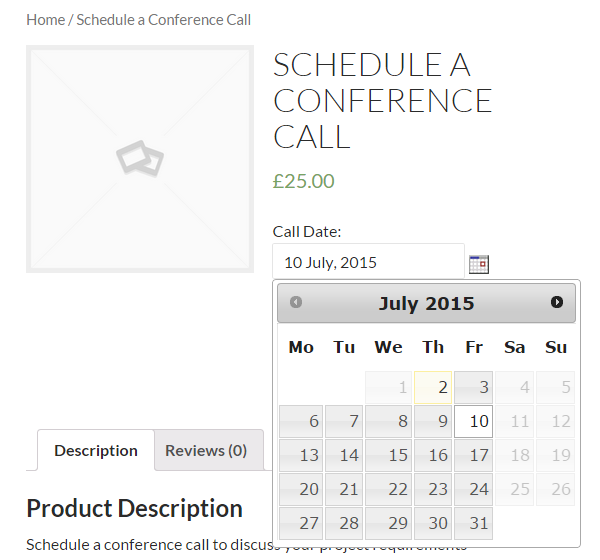
Step 3: Selecting a date in WooCommerce Bookable Product
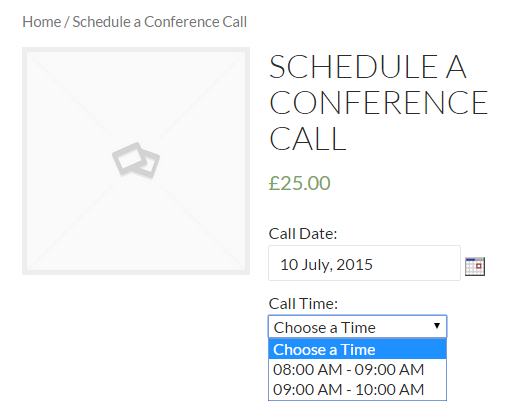
Once a date is selected, the plugin then presents the option to choose the time slot. The label “Call Time” again has been customized from the Booking Labels section. From there itself, if you want, you can change the label “Choose a Time” to something else.
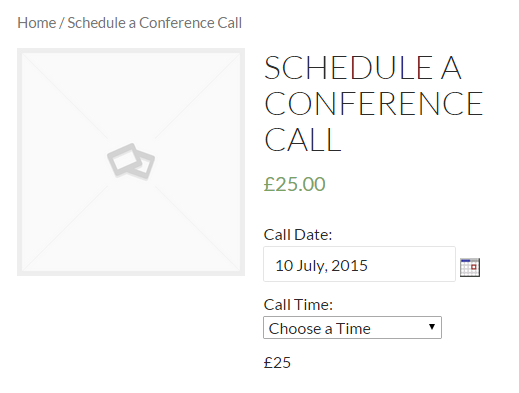
Step 4: Selecting a Time slot in WooCommerce Bookable Product
Once the dropdown for time slots appears, you can choose the time slot. Only those time slots that still have capacity to take bookings will be shown. Any time slots that are locked out or have reached their maximum booking capacity will not be shown in the dropdown. Since this is our first booking for this product, all the time slots created in admin will show up.
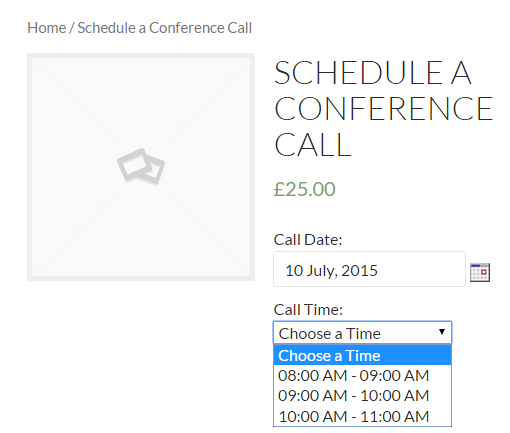
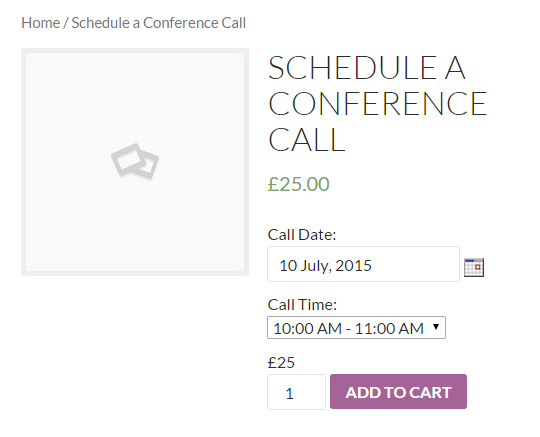
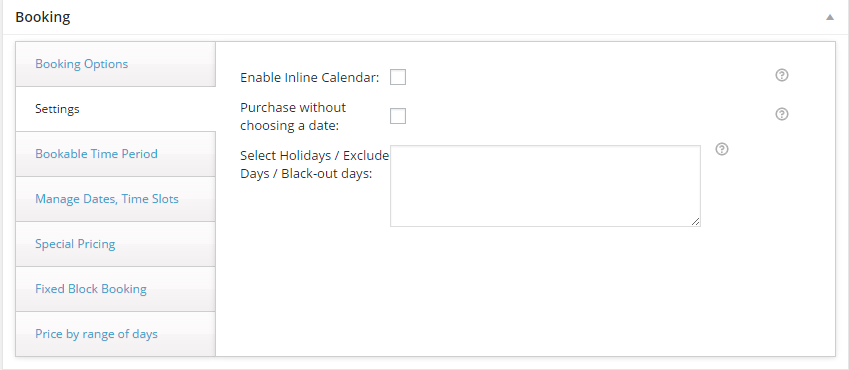
Once a time slot is selected, the “Add to Cart” button will be visible. Until that time, the button stays hidden. If you want, the “Add to Cart” button can be made always visible by checking the option Purchase without choosing a date in Booking -> Settings section.
Step 5: Adding to Cart
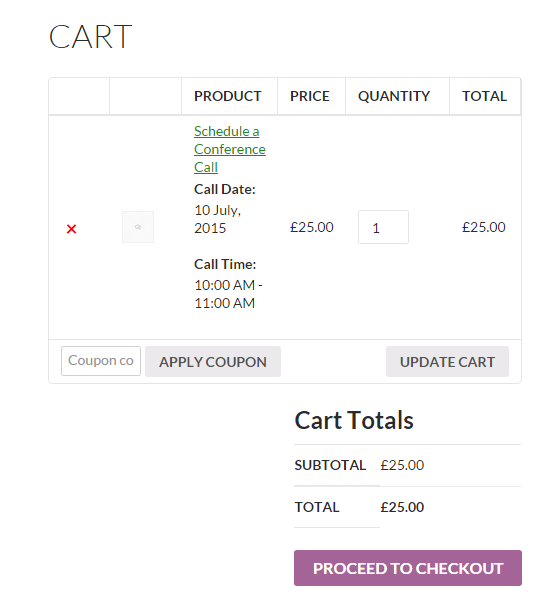
After the date & time slot are selected, clicking on the “Add to Cart” button will add the product in your cart. The chosen date & time shall be visible on the Cart page too as shown below.
Step 6: Checkout
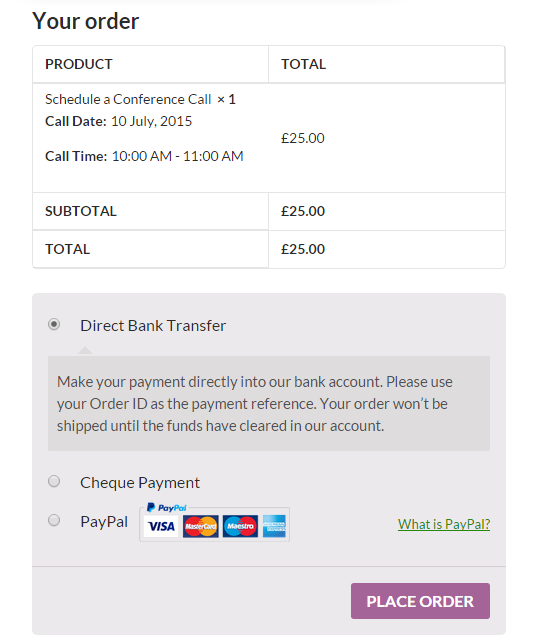
Once you click on “Proceed to Checkout”, it will show the Checkout page. Again the booking date & time shall be shown. This is extremely helpful as it allows you to review the date & time & change it, if required, before you place your order.
Order Placed
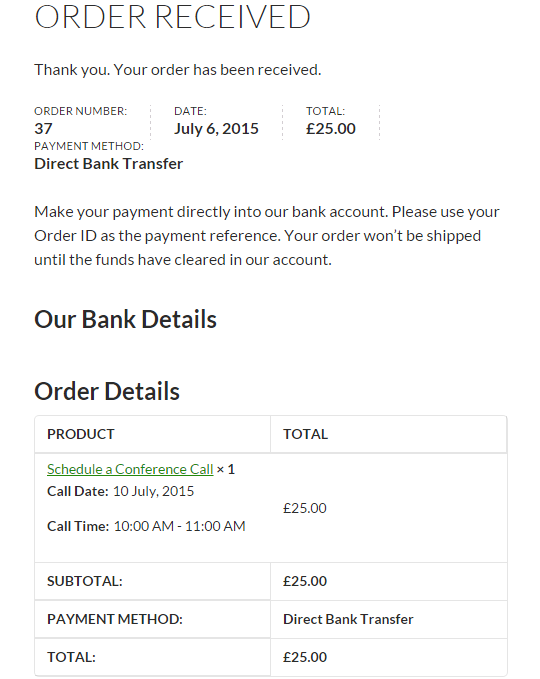
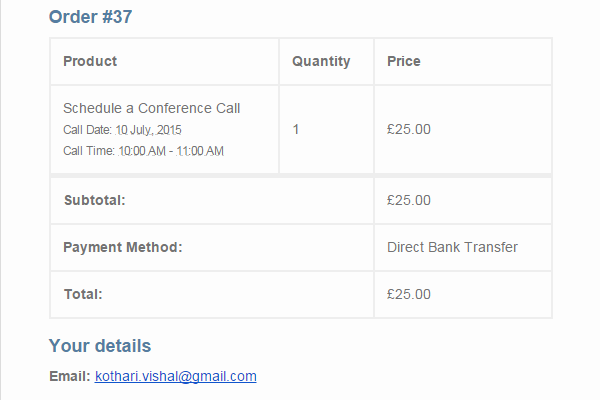
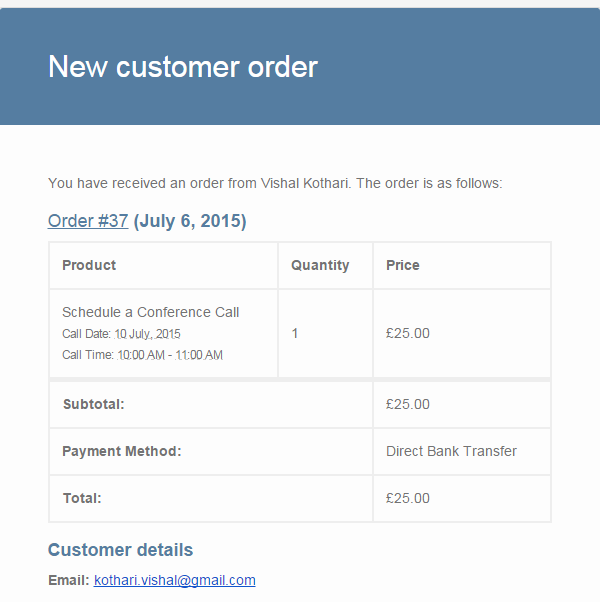
Once you click on the “Place Order” button, the following page is shown. The chosen date & time will again be shown on the Thank you page. The date & time will also appear in the email notifications that are sent to you (the customer) as well as to the administrator.
Time slot lockout
Since we had set the maximum bookings for each time slot to 1, the above time slot will no longer be available for booking for the date of 10th July 2015. As you see in below screenshot, the 10:00 AM to 11:00 AM time slot is not appearing for the date 10th July 2015.
Conclusion
This concludes the Part 2 on how to turn your WooCommerce store into a booking platform. In these 2 parts, we have only focussed on WooCommerce bookings that are date & time based.
You can check Part 1 by clicking here. You can also view the product Schedule a Conference Call on frontend by clicking here.
My next posts will about how to setup Date bookings AND Multiple day bookings with the WooCommerce Booking & Appointment plugin.


[…] If you want to skip this post & go directly to the user experience on the Frontend for date & time bookings with WooCommerce, please go to Part 2. […]