Zapier is a tool that helps you automate repetitive tasks between two or more apps without reliance on coding or developers.
Zapier can instruct an app to perform a particular task when an event happens in another app. For more information on Zapier, please see https://zapier.com.
Zapier Integration has been introduced in the 5.12.0 version of the Booking & Appointment Plugin for WooCommerce (BKAP) which lets you connect BKAP to hundreds of web services available on Zapier.
Automated connections called Zaps can be set up in minutes and can do the following:
- Automate your day-to-day tasks and build sophisticated workflows
- Automate tasks in the background, so you can focus on more important work
- Perform Triggers and Actions: Zap starts with a trigger—an event in one of your apps that kicks off your workflow. It has one app as the Trigger (where your information comes from) which causes one or more Actions (where your data gets sent automatically) in other apps.
Requirements
- Zapier Account
- WooCommerce 3.5+
- WordPress 4.4+
- Booking & Appointment Plugin 5.12.0+
- WordPress Pretty Permalinks – must be enabled
- WooCommerce Consumer and Secret Keys – must be generated
- Legacy REST API – must be enabled
Zapier Actions available in the Booking & Appointment plugin
- Create Booking – Creates a new booking on WordPress for a specified Product and Customer. Depending on the booking settings of the Product, certain required booking parameters have to be provided else the booking creation process will fail. Information on the required booking parameters is usually displayed after the selection of a Product
- Update Booking – Updates booking information of a specified Booking. The Booking ID of the booking to be updated is required.
- Delete Booking – Deletes a Booking. The Booking ID of the booking to be deleted is required
Note: Zapier Integration for the Booking & Appointment Plugin for WooCommerce is currently in early access. You can find it in the Zapier app directory here.
A. Setting up Zapier on WordPress
B. Setting up Zap Triggers on Zapier & WordPress
C. Setting up Zap Actions on Zapier
D. Configuring ‘Create Booking Action’ on Zapier using Google Sheet
A. Setting up Zapier on WordPress
This step is required to ensure that Zapier is allowed to successfully interact with WordPress.
Go to the Booking & Appointment Settings > Integrations tab > Zapier.
Click on Zapier Integration and activate the Zapier Integration option.

Activate the Zapier Trigger and the Log option to view debug and error messages.
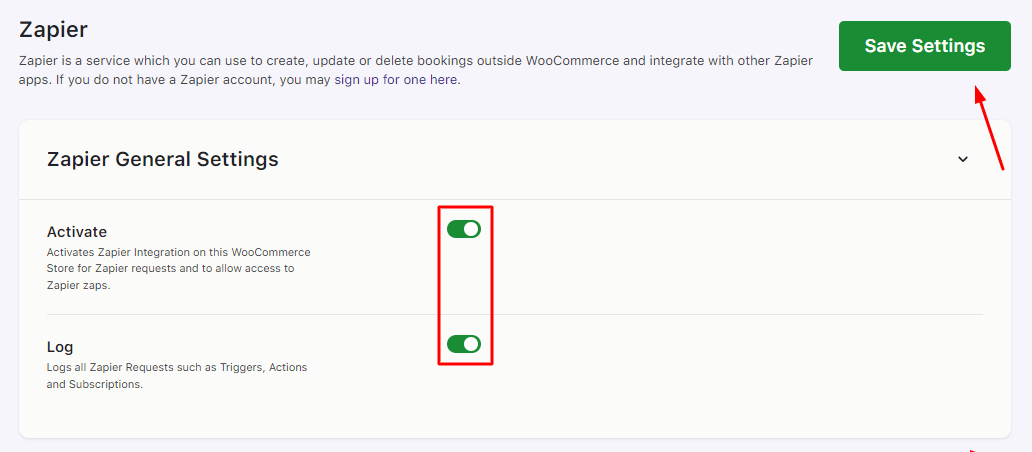
Make sure to Save your settings.
B. Setting up Zap Triggers on Zapier & WordPress
A trigger is an event that starts a Zap.
For example, you may want to send a Slack message each time a customer places a booking on your WooCommerce site. In this case, the trigger is Create Booking while the action is Send Channel Message in Slack.
On WooCommerce, triggers are usually triggered during:
- Create Booking: During the checkout process and completion of the order.
- Update Booking: On the Edit Booking page on the Admin Panel. Quantity and Date can only be updated.
- Delete Booking: On the Edit Booking page when the “Move to trash” link is clicked.
Setting up a Zap is super easy! You just have to follow the following steps to complete your first zap!
1. Sign up for a Zapier account
To get started you’ll need a Zapier account.
You may need to create an account on Zapier if you do not have one already.
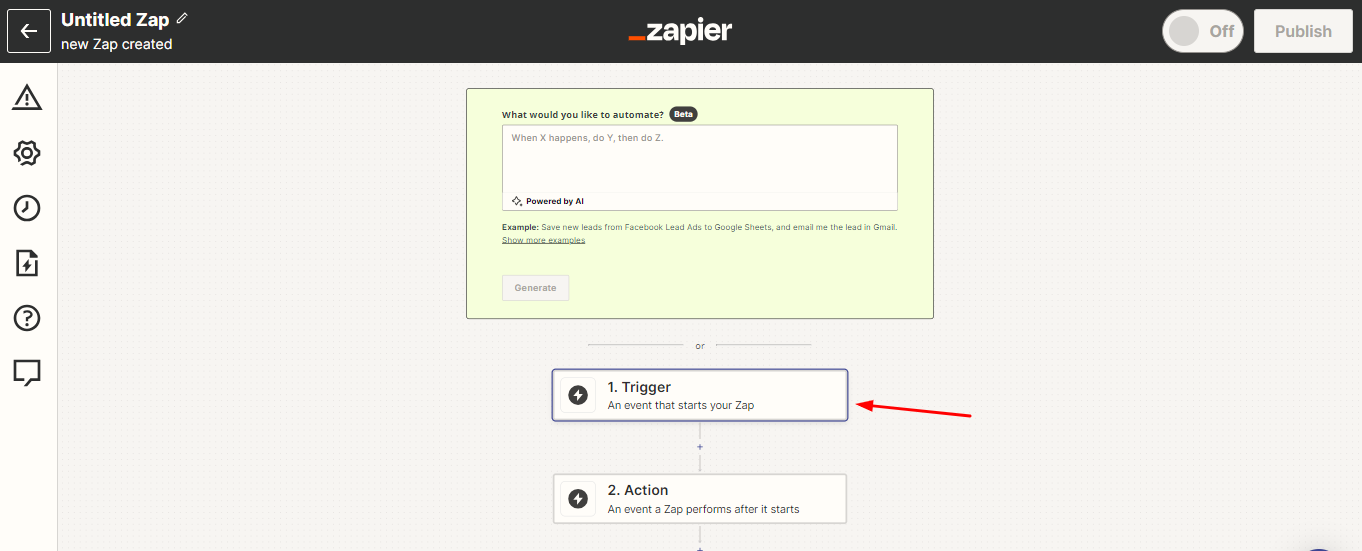
Once logged into the Zapier platform, click on the Create Zap button.

2. Select the Trigger app
Select the Trigger option.
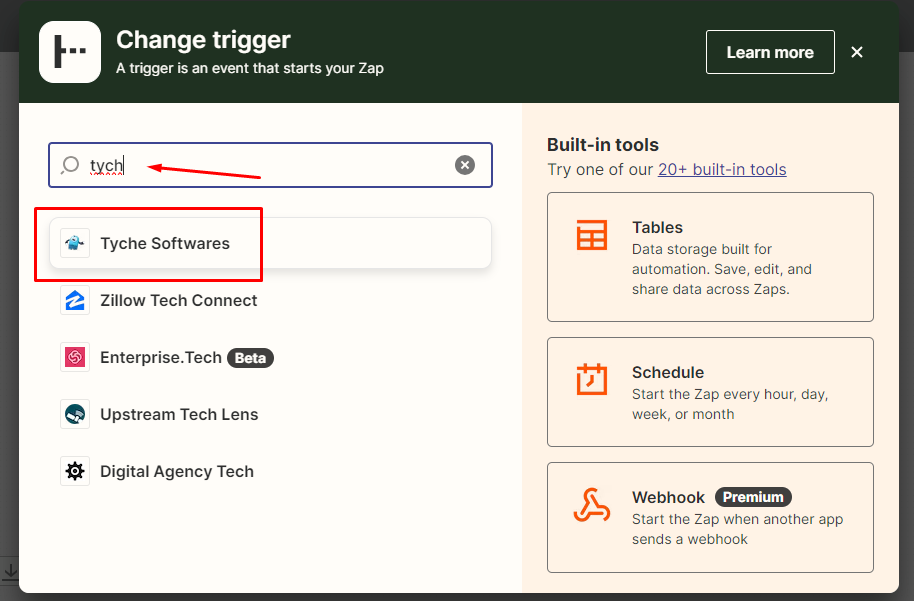
Select Tyche Softwares as your trigger app from the list of apps.
3. Select Trigger Event
Based on what you intend to do, you can select Create Booking, Update Booking or Delete Booking.
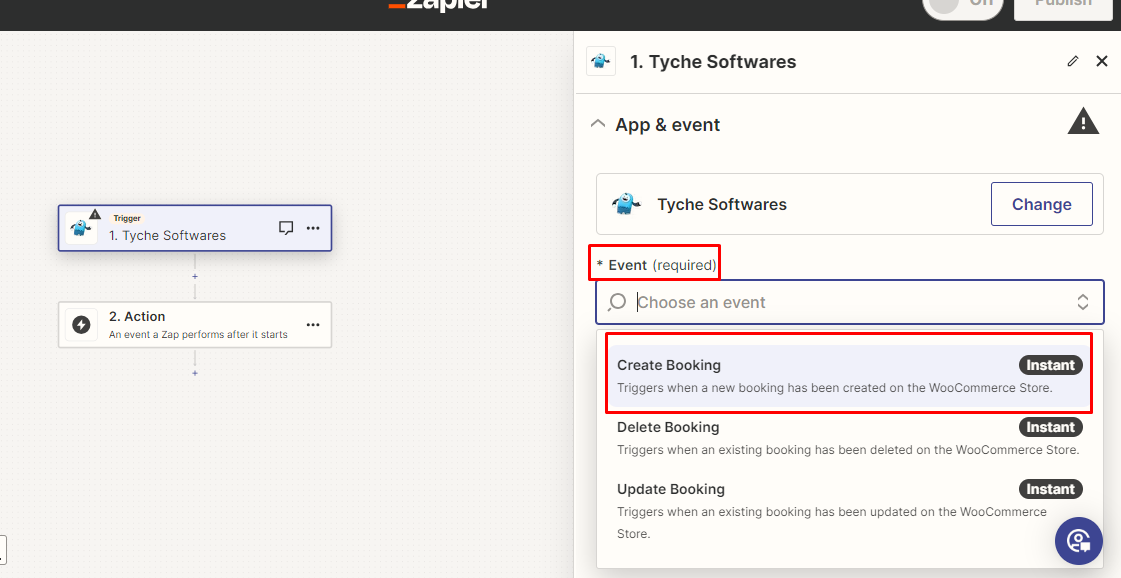
The steps to set up Zapier for Create Booking, Update Booking or Delete Booking are all similar.
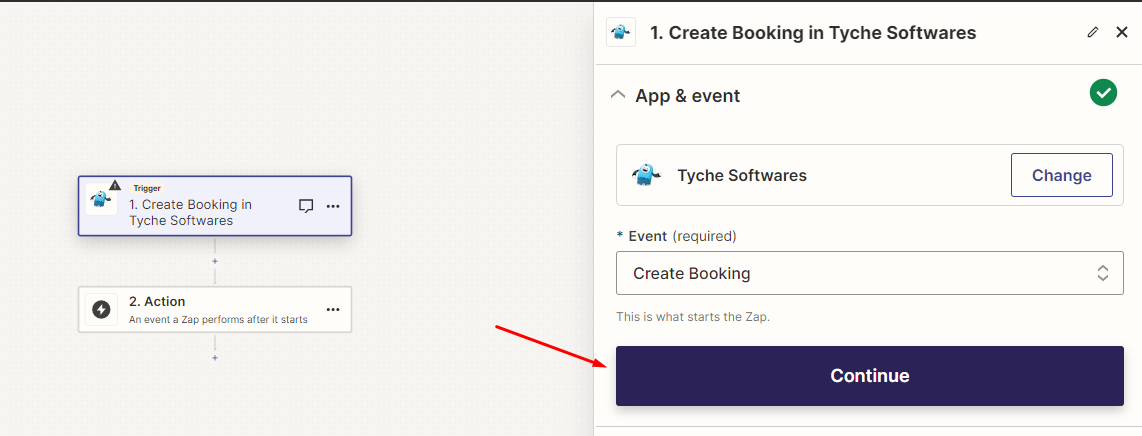
Click the Continue button.
4. Connect the WordPress account
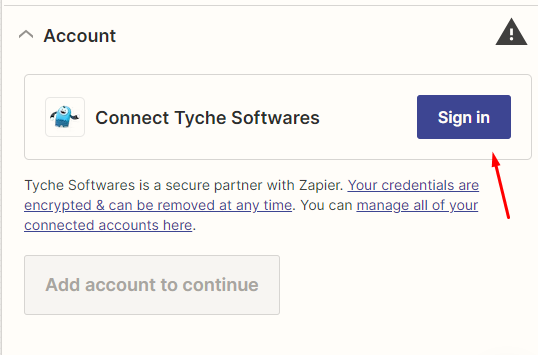
Continue by clicking the Sign in button. This will help connect your Tyche Softwares to Zapier.
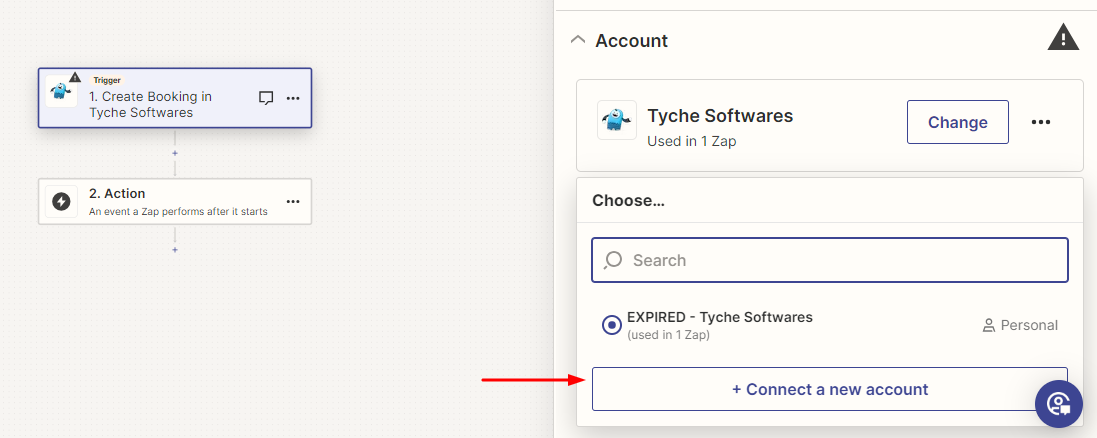
Select an account if you are already logged in. If not, connect to a new account.
Here, you will need to create WC API Rest keys to generate the WooCommerce Consumer and Secret Keys.
After generating the keys, please keep them handy as they will be needed in creating a Zap.
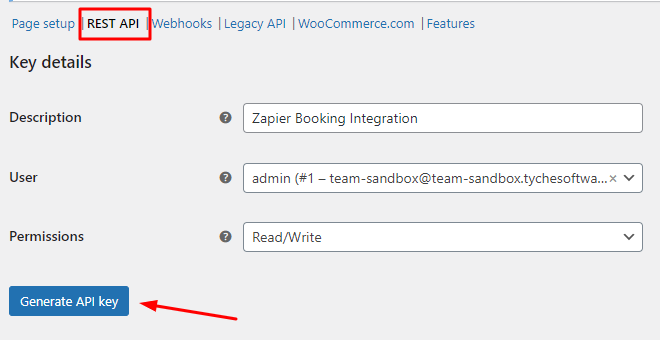
Go to WooCommerce > Settings > Advanced > REST API > Create an API key.
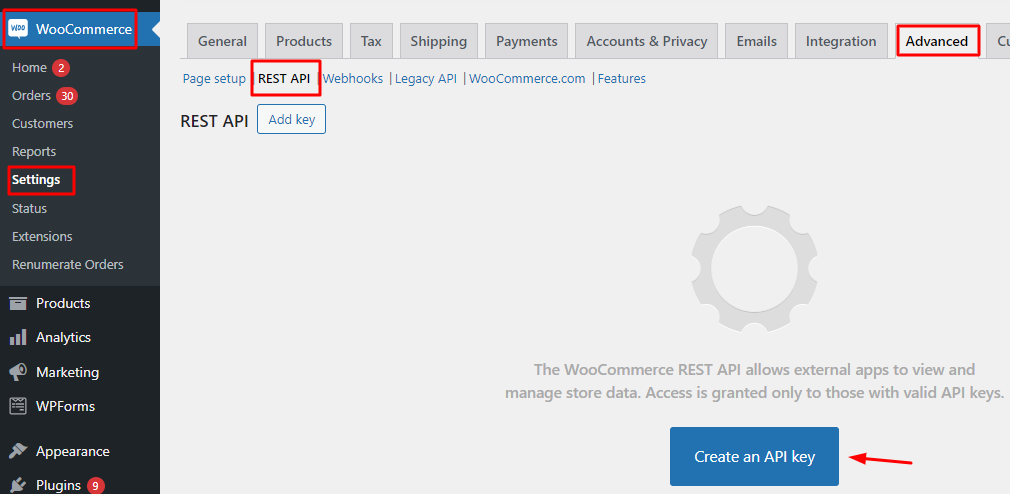
Add the description, User, and Permissions.
Click the Generate API Key button to create your key.
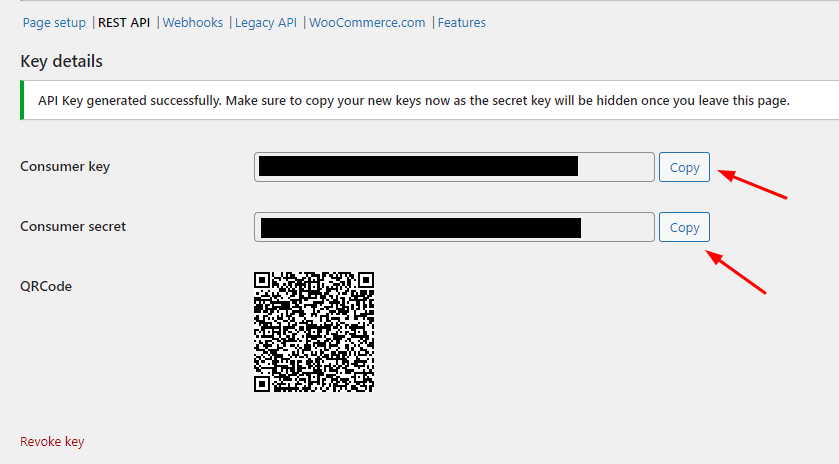
Make a note of the Consumer Key and Consumer secret. These details will not be available later when you go back to this page.
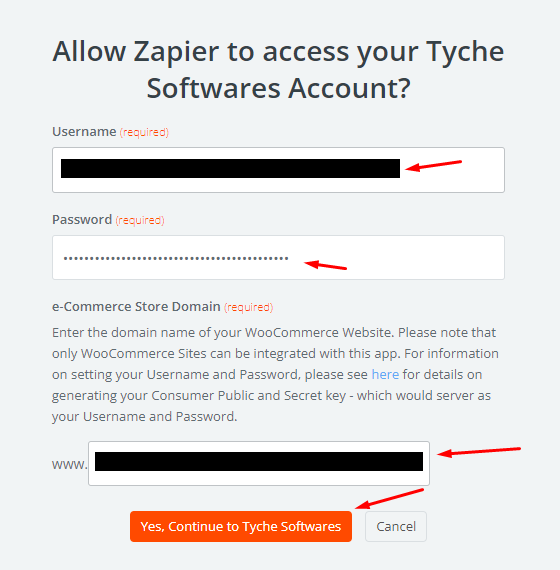
Go back to Zapier and add the Consumer Public Key as the Username and Consumer Secret Key as the password.
In the domain field, enter the domain for your WooCommerce store as shown below:
5. Enter Trigger Label
This label would be used to identify the Trigger setting on WooCommerce, so give the label a very descriptive word.
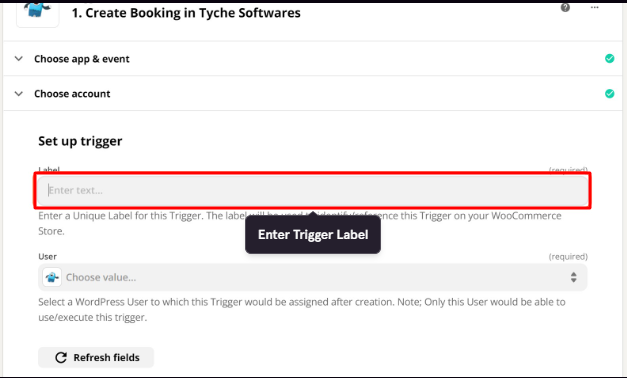
For instance, you can select the label ‘Create Booking Trigger’ here.
6. Select User
This Trigger would be assigned a User so select one accordingly.
Users cannot use or execute triggers not assigned to them.
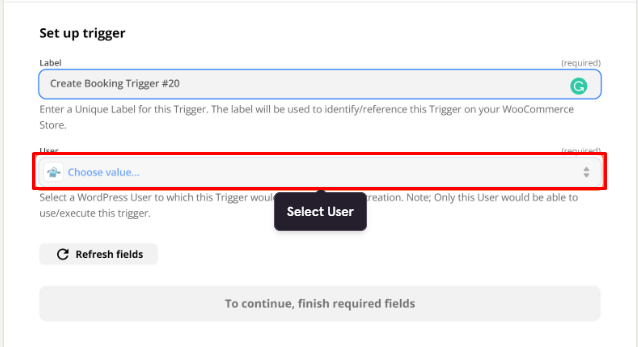
For instance, you can go with the User admin.
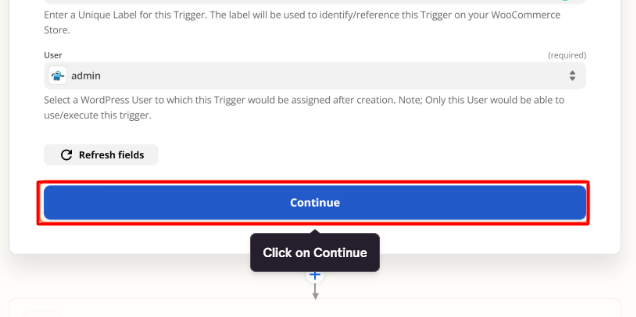
Click Continue after it.
7. Test Trigger
This will place a call to the Zapier API on WooCommerce and fetch a recent booking for testing purposes.
You will see a message that says Test your trigger. Click the Test Trigger button once done.
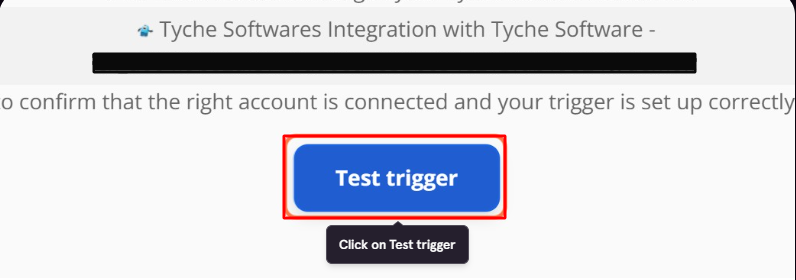
Next, click the Continue button.
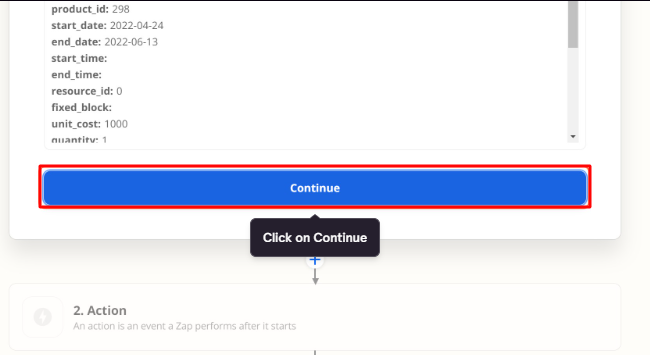
After the triggers, you will have to configure the Action step.
8. Complete your Zap by adding an Action step
This is the app or execution step that will occur when the Trigger is activated by WooCommerce.
For this tutorial, let’s use Slack (a widely used team messaging app), which will send a message to a Slack channel when a booking has been created/updated/edited on WooCommerce.
Search for the Slack application.
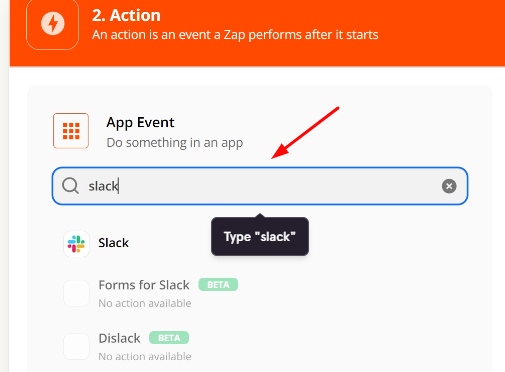
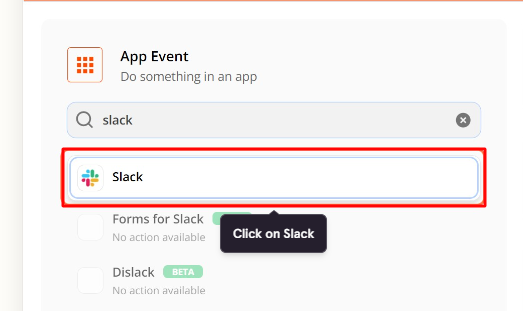
Select it.
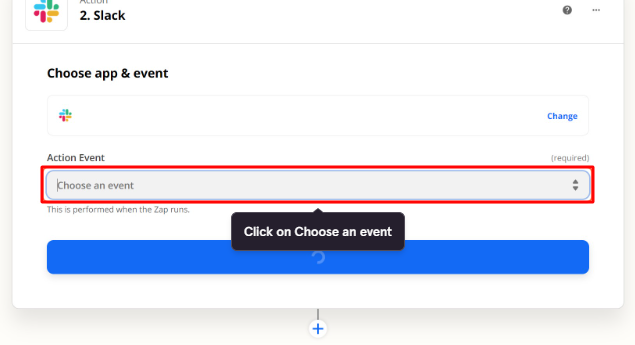
Under Action Event, choose an event.
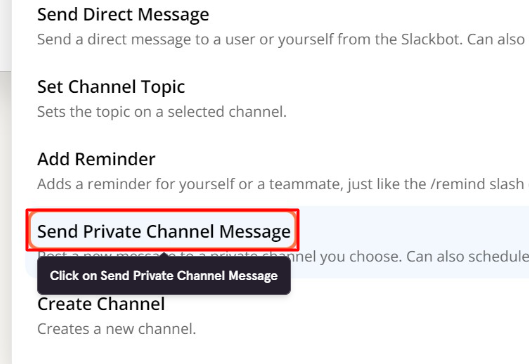
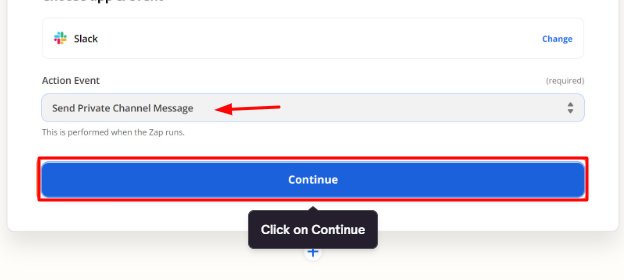
Select the Send Private Channel Message. This ensures that the trigger will send a private message to a person on Slack.
Click on Continue.
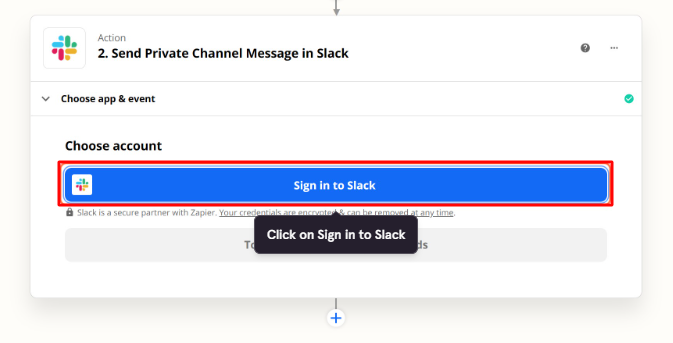
Go to Choose Account and Sign in to Slack.
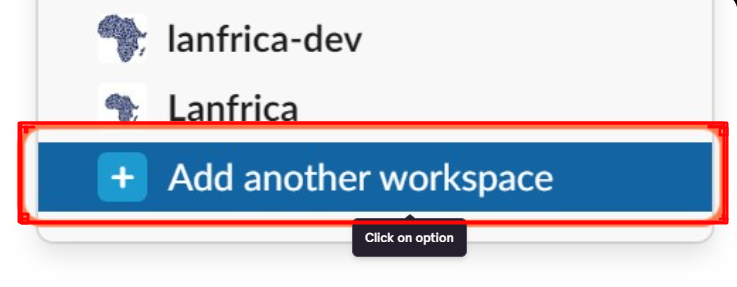
Select Add another workspace. It will allow your workspace to be connected.
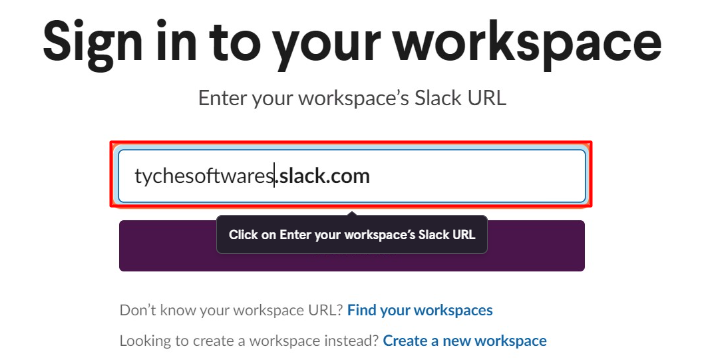
Enter your Workspace’s URL and proceed forward.
Enter your email address, and password and click the Sign in button.
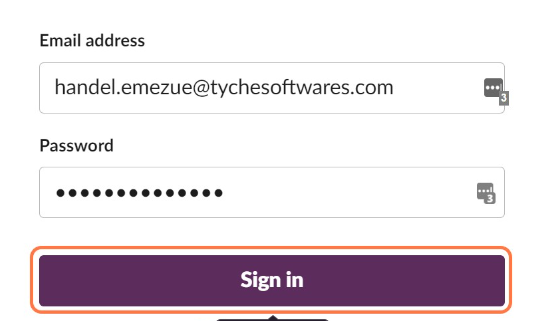
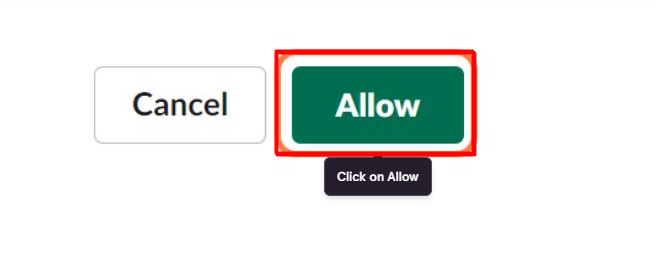
It will ask you what will be accessed by Slack. Click Allow and proceed forward.
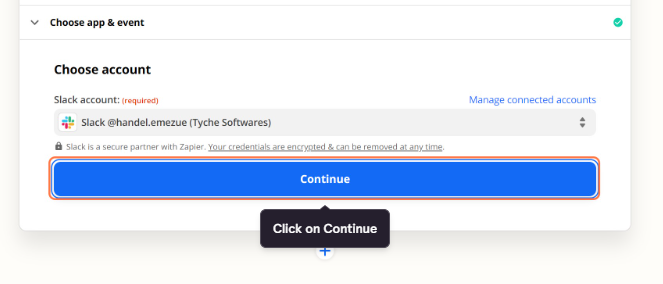
Under Choose app & event, choose your account once it has been linked. Click Continue.
Next, set up the action. Choose value under the Channel field.
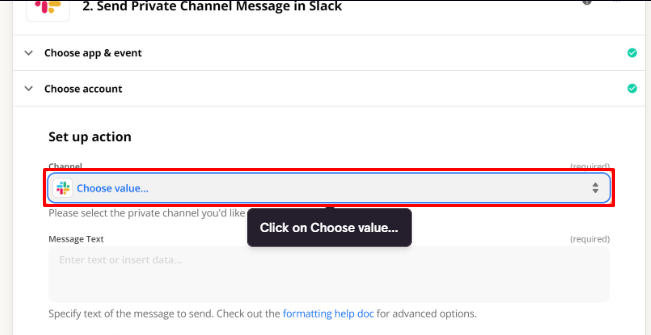
Search for Zapier and find the channel.
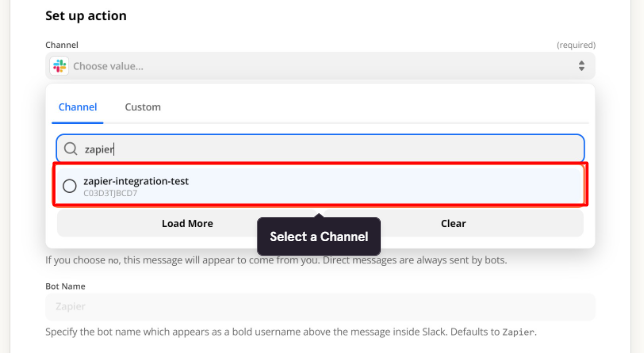
Select it and write the message text.
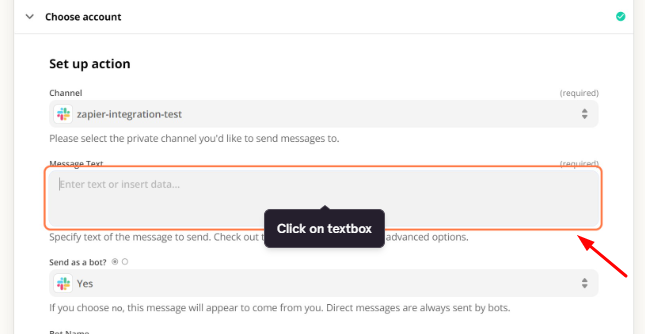
Add all the following things in your Text Message by clicking on the Booking ID next.
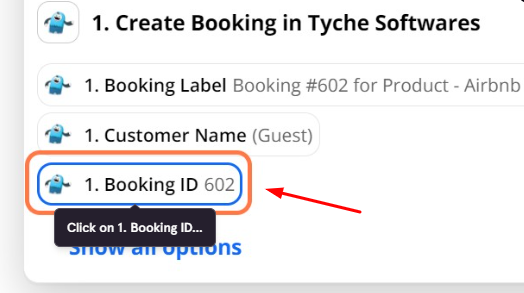
Follow it up with Show all options.
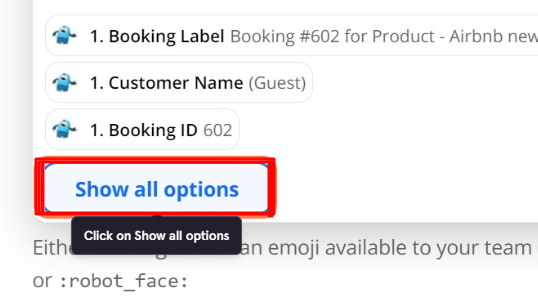
Select the Customer Name next.
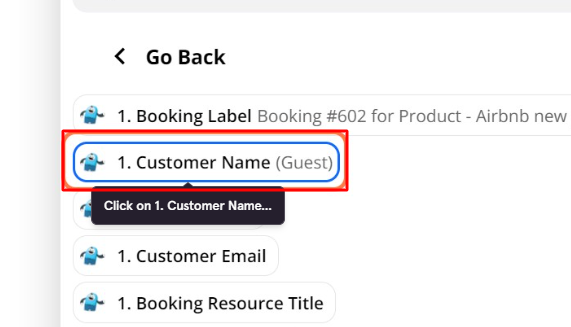
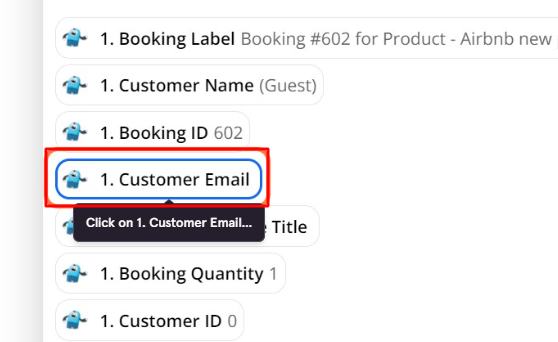
Choose Customer Email.
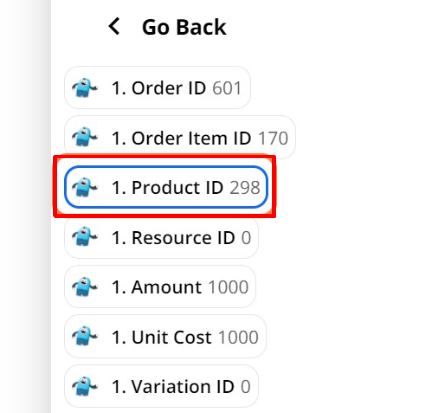
Lastly, select the Product ID.
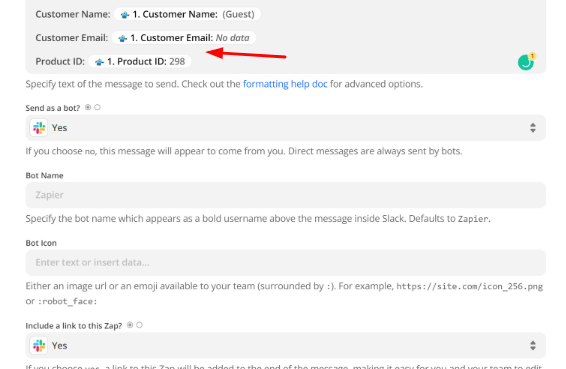
You have added all of these details in the Text Message as shown below. Configure other settings too.
Click the Continue button.
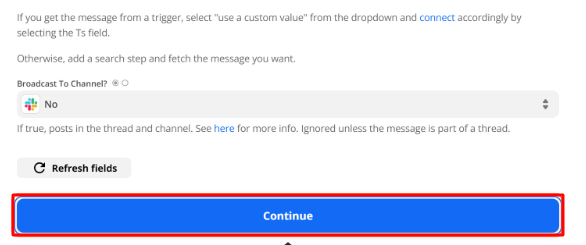
You will get a summary of your settings. Choose the Test & Review button.
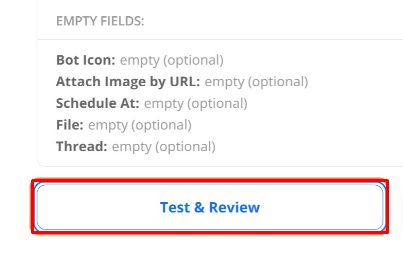
Once it is successful, click the Turn on Zap button.
You will see the following message once done!
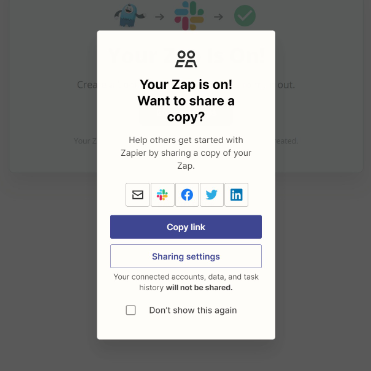
In the workflow above, Slack was used as the action step in configuring the Zapier Trigger.
During the configuration, Zapier would send a test message to the Slack channel to confirm that it can send messages to the channel.
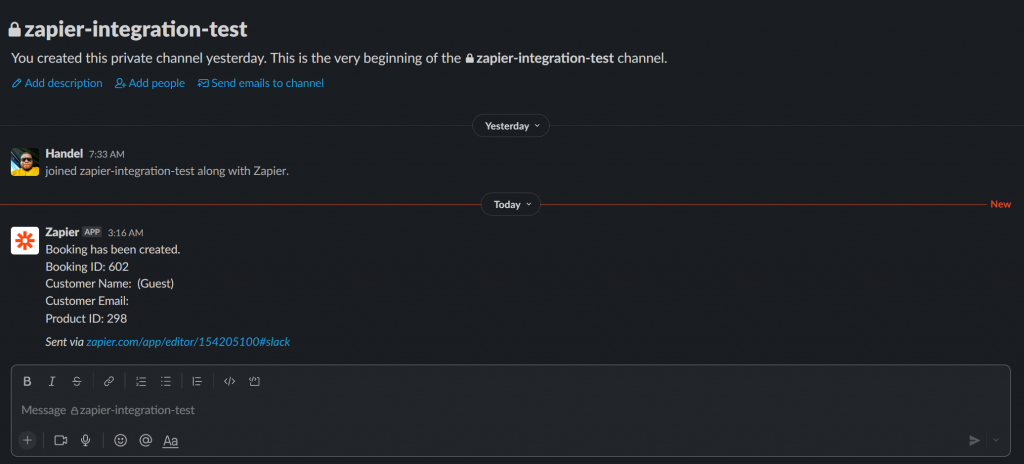
At this point, the Zap has been created successfully on Zapier.
9. Configure Zap Trigger on WordPress
Now it is time to configure the created Zap with the WooCommerce store on WordPress.
This way, WordPress would be able to effectively activate the Zapier trigger when a booking has been created, updated, or deleted.
The configuration of the Zap with the WooCommerce store on WordPress involves a direct connection with a specific booking product.
The booking event (create, update, or delete) associated with the Zapier trigger and originating from the booking product would initiate the Zapier Trigger.
Zapier triggers that are not configured on WordPress will not be activated even if they have been successfully created on Zapier.
Let’s start.
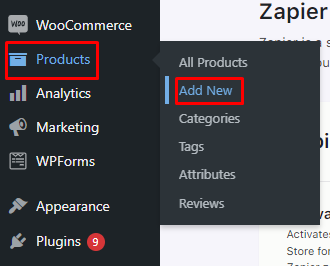
Go to Products > Add New.
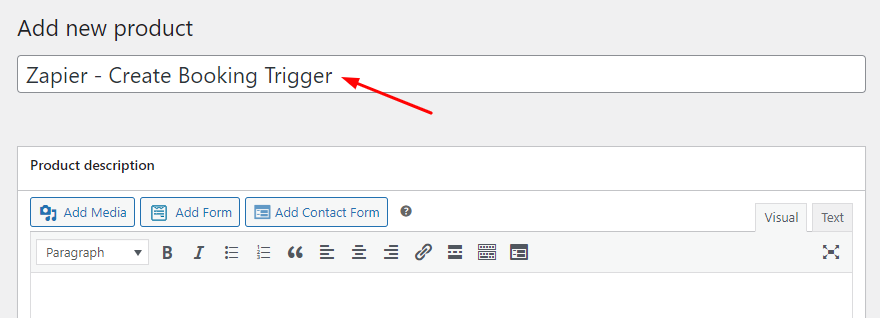
Give a name to the product. Since this is a sample product, you can go with the name ‘Zapier – Create Booking Trigger.’
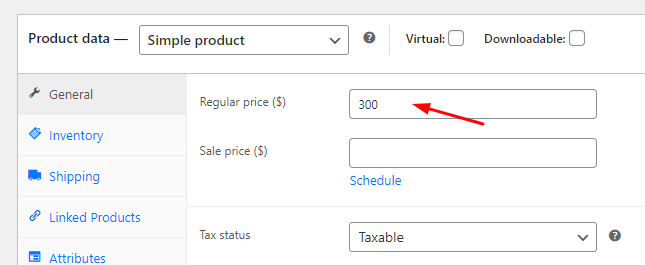
Add the price.
Enable the booking for this product and configure the Booking type.

Go to Integrations > Zapier.
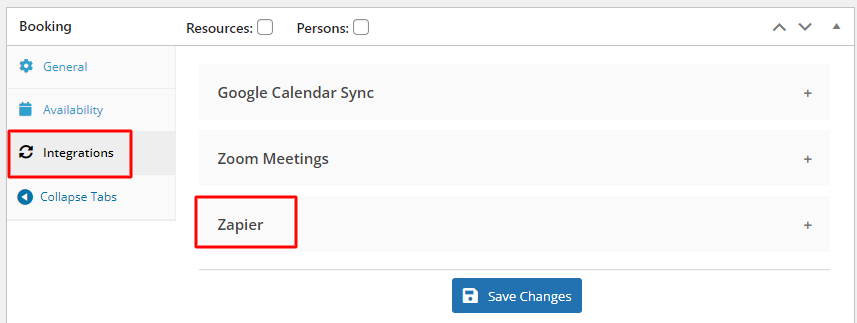
Enable the Create Booking Trigger.

In the Select Created Triggers field, choose your trigger. It would be Create Booking Trigger.
Click the Save Changes button once done.

Lastly, publish the product.

10. Test Zapier Trigger on WordPress (optional)
A test booking can be placed on the WooCommerce store to make sure that things are working right. This is optional.
After creating your sample product, place an order for it by clicking the Book Now button.
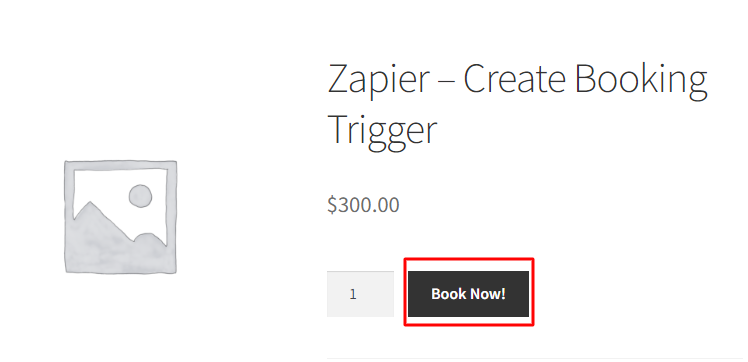
Proceed to View your cart.

Next, go to the Checkout.
Lastly, place an order.
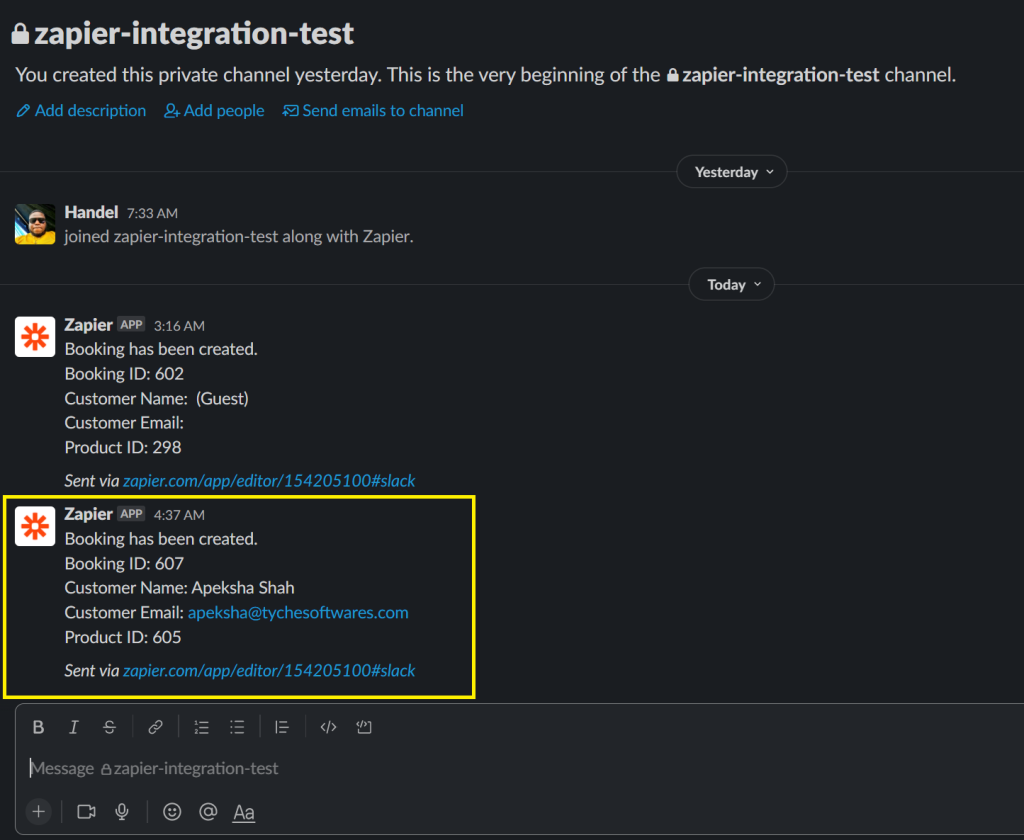
After the booking has been placed, a message containing the booking information will be sent to the Slack channel.
This will be based on the configuration of the Zapier trigger.
C. Setting up Zap Actions on Zapier
Zapier Actions are events that occur outside of WooCommerce and are expected to create, update, or delete bookings.
They are a result of the execution of a non-Tyche Zap app such as Gmail, Calendar, WordPress, WebHooks, etc.
Due to it, a corresponding action on the WooCommerce store – create, update, or delete bookings will be performed.
When setting up Zapier Actions, filling in a couple of required fields is necessary. Especially when creating bookings where the fields are dependent on the type of booking – single day, multiple dates, multiple nights, etc.
Values for these required fields can be set in two ways:
- Manually when setting up the action
- Using values from the Action Trigger execution (Gmail, Calendar, WordPress, WebHooks, etc
1. Create Booking Action
For the Create Booking Action, the Product and User must be specified while setting up the Zap.
Based on the booking type that has been configured for the Product on WooCommerce, Zapier displays information on the required fields.
Note: All data types are sent as strings to avoid data type mismatch errors.
single_day booking type
| Key | Label | Required? | Format |
| order_id | Order ID | No | – |
| quantity | Booking Quantity | Yes | – |
| start_date | Booking Start Date | Yes | YYYY-MM-DD |
| end_date | Booking End Date | Yes | YYYY-MM-DD |
| price | Booking Price | Yes | – |
multiple_days booking type
| Key | Label | Required? | Format |
| order_id | Order ID | No | – |
| quantity | Booking Quantity | Yes | – |
| start_date | Booking Start Date | Yes | YYYY-MM-DD |
| end_date | Booking End Date | Yes | YYYY-MM-DD |
| price | Booking Price | Yes | – |
| fixed_block | Fixed Block | Yes | – |
date_time booking type
| Key | Label | Required? | Format |
| order_id | Order ID | No | – |
| quantity | Booking Quantity | Yes | – |
| start_date | Booking Start Date | Yes | YYYY-MM-DD |
| end_date | Booking End Date | Yes | YYYY-MM-DD |
| price | Booking Price | Yes | – |
| start_time | Booking Start Time | Yes | H:i |
| end_time | Booking End Time | Yes | H:i |
duration_time booking type
| Key | Label | Required? | Format |
| order_id | Order ID | No | – |
| quantity | Booking Quantity | Yes | – |
| start_date | Booking Start Date | Yes | YYYY-MM-DD |
| end_date | Booking End Date | Yes | YYYY-MM-DD |
| price | Booking Price | Yes | – |
| start_time | Booking Start Time | Yes | H:i |
| duration | Booking Duration | Yes |
2. Configuring ‘Create Booking Action’ on Zapier using Google Sheet
You can use Google Sheets to configure the Create Booking Action on Zapier.
Google Sheets is used in this tutorial as it is usually used by most customers in keeping records of bookings. Let’s get started!
1. Create Spreadsheet
Here, you have to sign in to Google Sheets and create a new spreadsheet.
Create a new Blank spreadsheet.
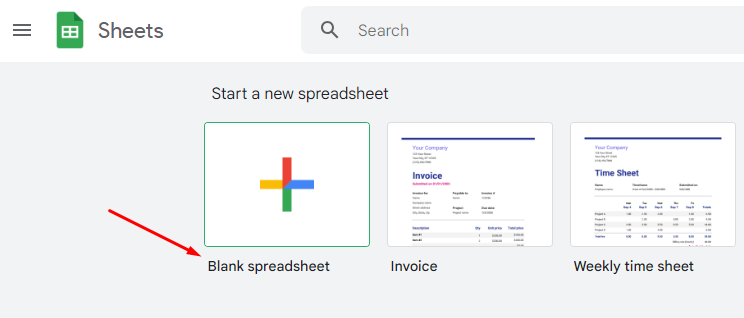
You can call this spreadsheet Zapier Create Action.
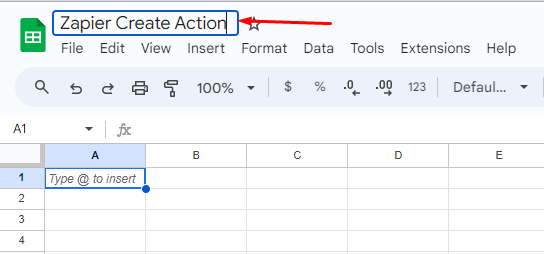
After creating the spreadsheet, you need to create column headers that match the required fields needed for each booking type.

You will have to add the following:
- Order ID
- Quantity
- Start Date
- Start Time
- End Date
- End Time
- Price
- Product ID
- Customer ID
2. Add Sample Data to Sheet Row
For Zapier to configure the Zap for the Create Booking Action, you will need to add some sample data to the first row of the sheet.

Zapier will use the sample data to test run the Zap, so you need to ensure that the sample data contains valid information.
3. Create Zap and select the Spreadsheet
Create a Zap on Zapier using Google Sheets as the trigger.
Search for Google Sheets and select it.
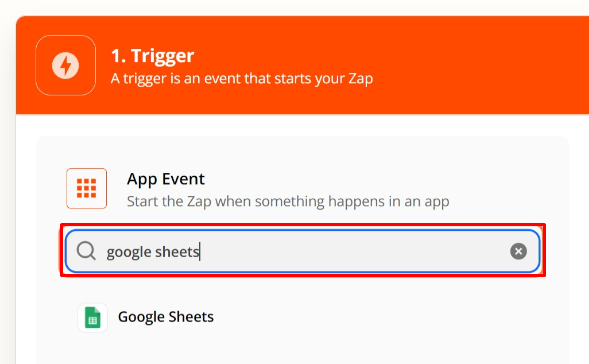
Select the trigger event.
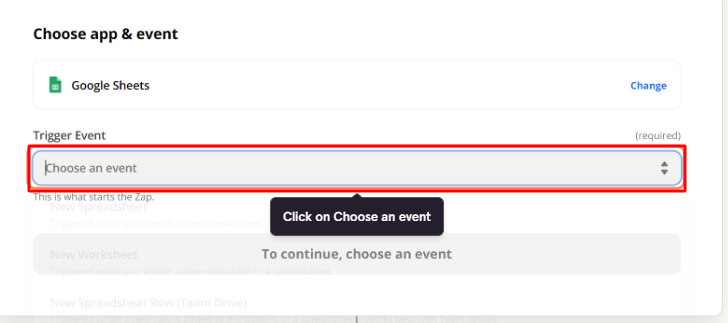
For the trigger event, select Create Booking and select “New Spreadsheet Row” as the Trigger Event.
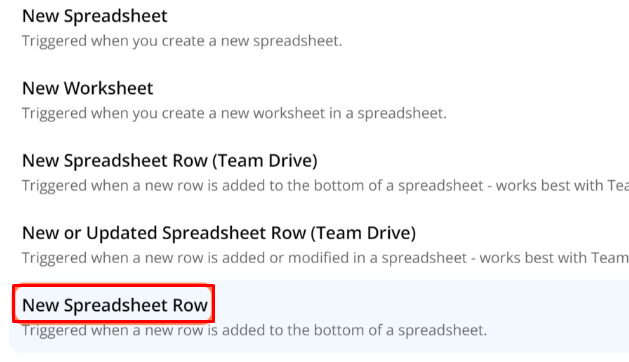
This is used because the Google Sheets Trigger needs to be activated only when a new row has been added to the spreadsheet.
Press the Continue button.
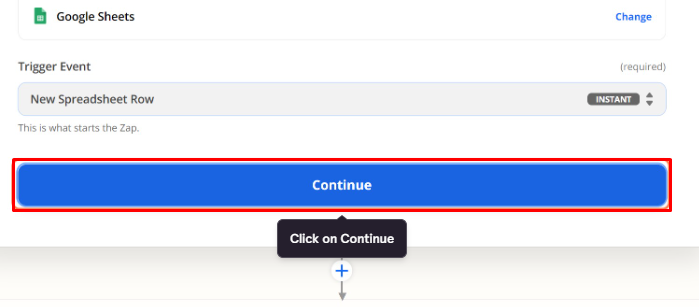
4. Configure Action for Zap
For the Action step, search for the Tyche Softwares Zapier app and select it.
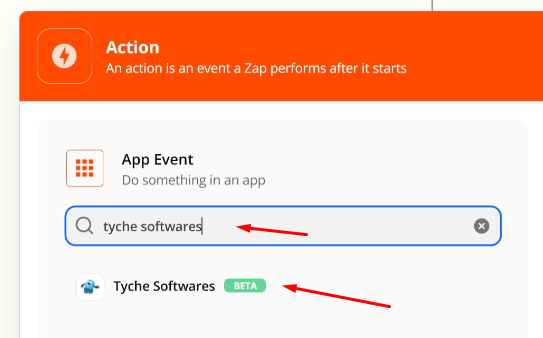
Go to Action Event next.
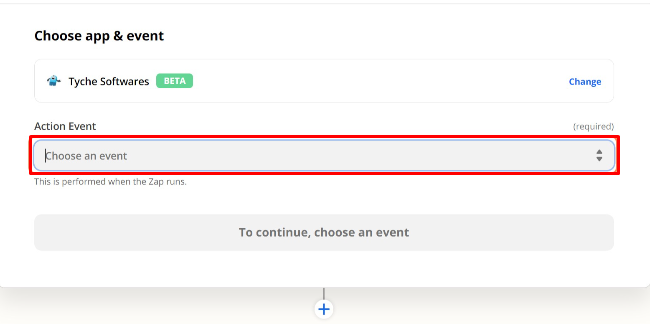
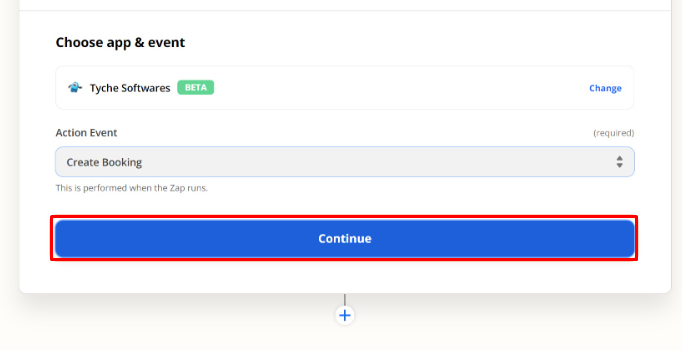
Choose Create Booking and proceed to Continue.
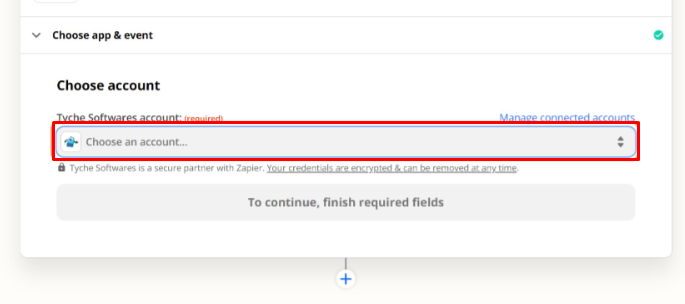
Choose an account.
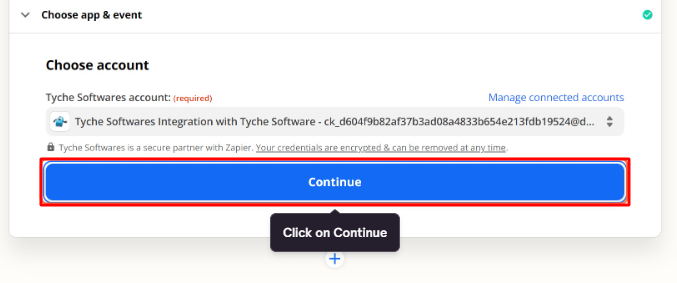
After selecting your account, click the Continue button.
It’s time to set up the actions. Here, you will have to select the Product and Customer.
This selection will determine the required fields based on the booking type that has been checked on the selected product.
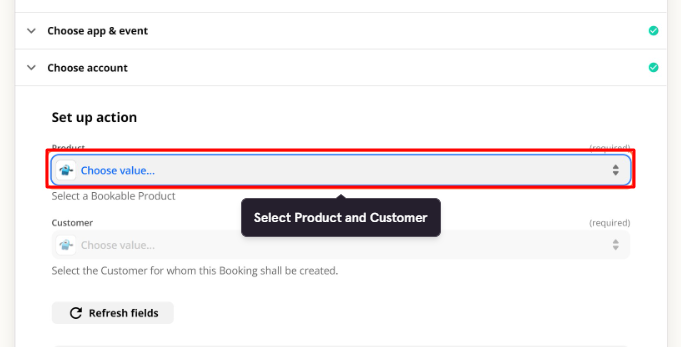
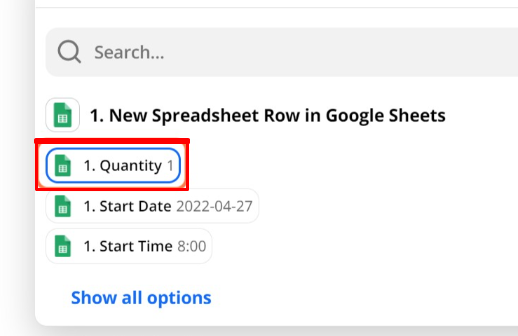
For each of the required fields that have been displayed (after selecting the Product), link the field on the Zap to the entry on the Google Sheet by selecting the corresponding label on the dropdown.
Start with Quantity.
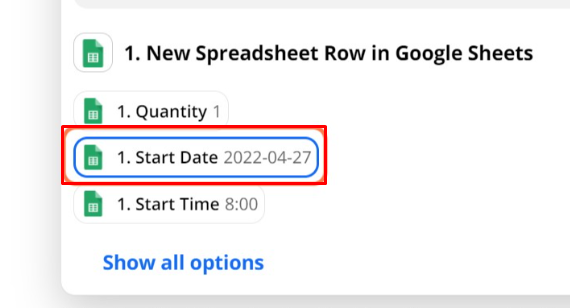
Then Start Date.
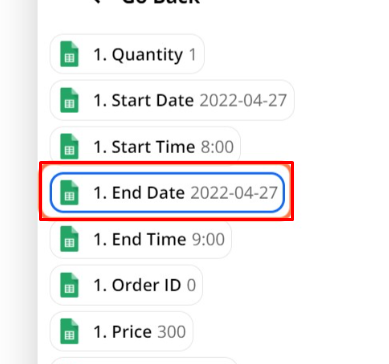
Continue with the End Date.
Next is Price.
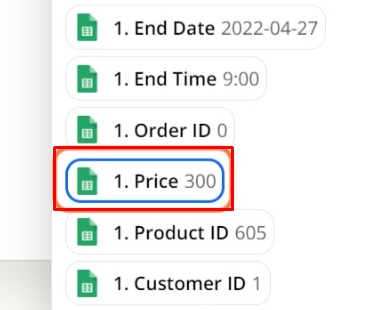
Following this is the Start Time.
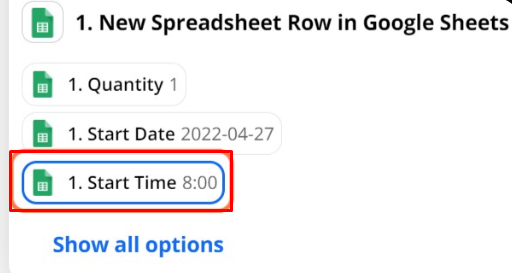
Then the End Time.
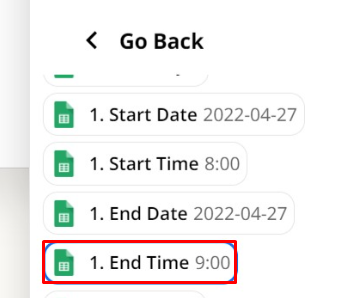
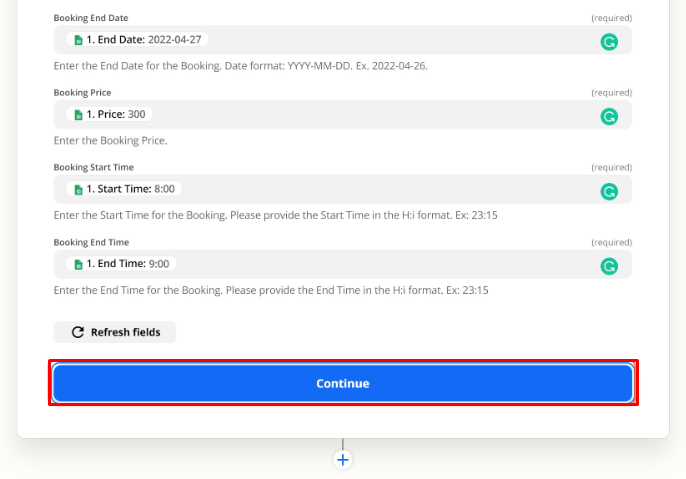
All of the information once filled will appear as such:
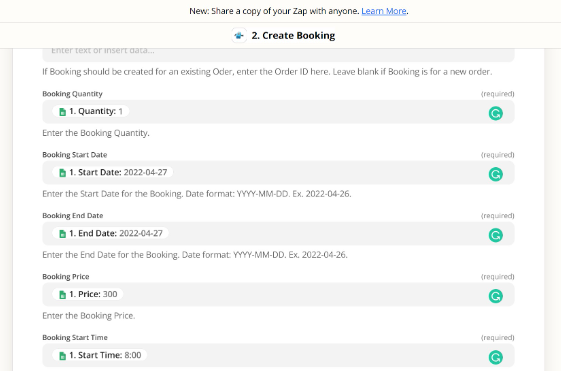
Proceed by clicking the Continue button.
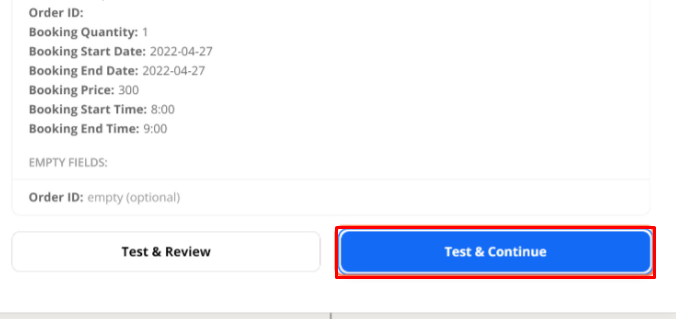
You will see two options, proceed with the Test & Continue button.
4. Publish Zap
Turn on your created Zap so that it gets published on Zapier.
The Zap will watch out for newly created rows in the Google Sheet and create bookings accordingly on your WooCommerce store.